Brilliant @russellcresser
3 Likes
Wasn’t sure if x7 might cause resolution issues if shrunk so 5x6 with 2 gaps may work better size wise of final issue. XY still easy I think would work on any grid if the images were in order of moon phase rather than phase 27=image0, phase0=image27
2 Likes
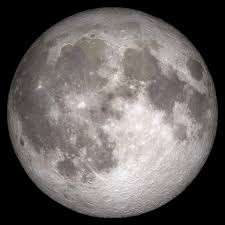
Looking at this the images are southern hemisphere: Does the moon look the same all round the world?.
I have adjusted the expression generator so it flips the phase if north of the equator and leaves it as is if south: $(round(#MOONAGEPERCENT#*27))==26?160+1*#LAT#/abs(#LAT#):$
2 Likes
I used this in Rotation to flip the moon images for the Sothern Hemisphere . Of Course in reality it swings round looking more horizontal at the equator .
.
$#LAT#>0?0:180$
2 Likes
In examle below are two ways I think better than built in complication.
First is using font with 8 shade images, that can have rotation applied.
The other, I have seen somewhere interesting method for continuous shade developement, but can not find the source, nor whether it was here or on GWD forum. So I had to recreate it from scratch
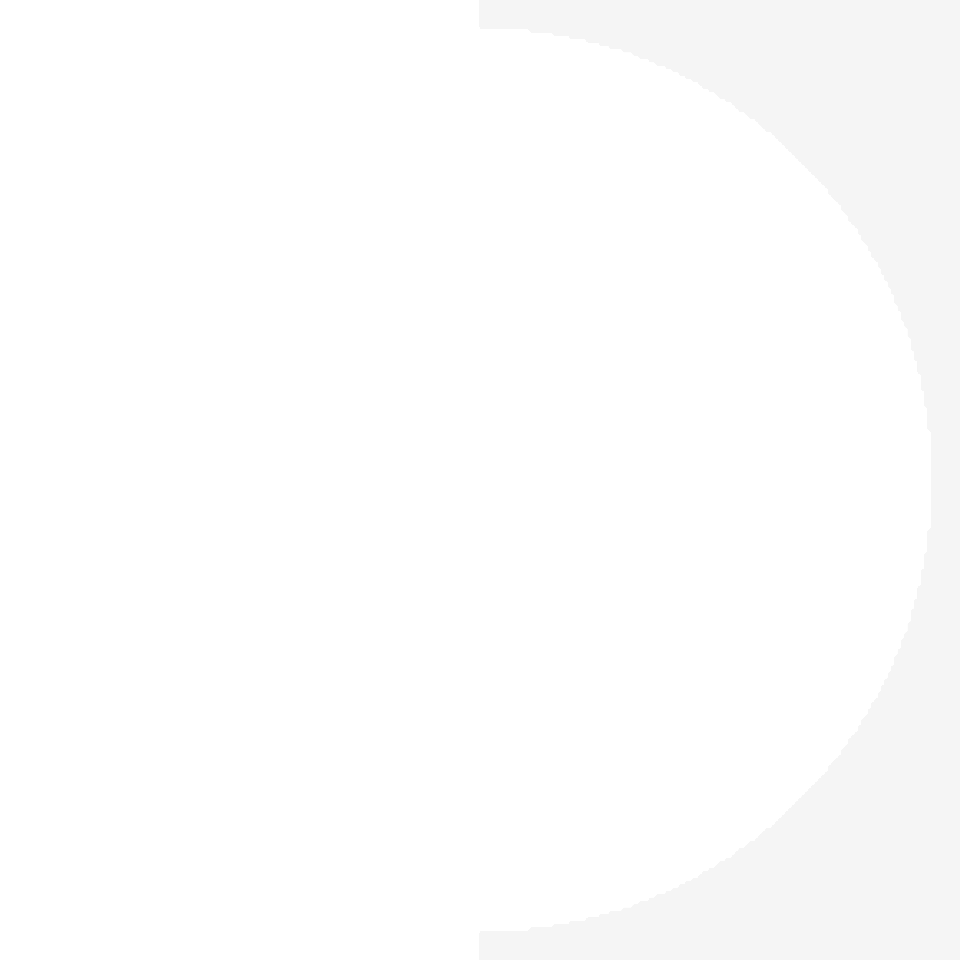
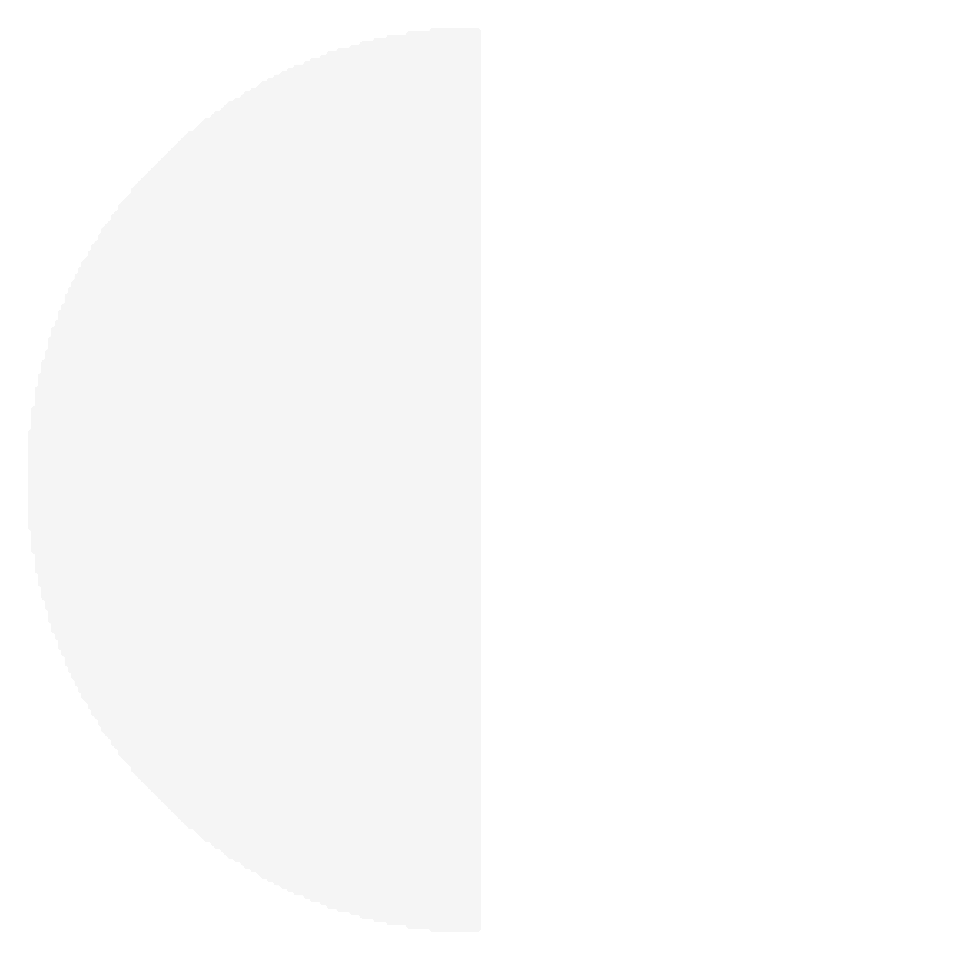
It uses 2 squares one circle and one half circle cutout mask.
The formula for shade progression is linear, but maybe could be improved with some sine implementation.
3 Likes
I like the inginuity there on both.
If I were to choose it would be the 2nd as it does not require the creation of a custom font.
The squishy half circle image mask is probably a more accurate shape representation than the arc method too as the curve flattens towards centre more truly representing the moon curvature.
3 Likes
I am sorry I skipped past this Before. Fantastic work Peter . Some nice ways of doing the Moon .
4 Likes
So glad you posted these. The arc method doesn’t actually work on watches. I think there is a bug anyway where on a watch inner radius of arcs are not changed by expression. Probably though, the expressions are just way to big. It easier to convert the few published faces to the squishy image method than try and work out a percentage scaled formula for each property on the arc.
It was definitely an interesting exercise though.
2 Likes
I am having a great deal of difficulty replicating the lower moon in your example. For example the square shapes do not position themselves as yours are - i have copied and pasted the tags in to mine and I have tried typing your tags and still the left and right squares position themselves differently, it’s almost like we have different scales. I am so frustrated and my last thoughts on this is to kindly ask if you would post the resources you used.
My efforts have not all been wasted though because I tried different art programs and learnt something new in each of them!
I have a Samsung galaxy gw5pro, I use Facer.io and the latest and greatest companion app.
I just had a thought - I maybe should start with a new blank template and only add the moon stuff to see what happens ( but your resources would still be appreciated)
2 Likes
I have successfully replicated it a few times using the below mask images and the following expressions, Just those that vary with moon size and position.
Mask In (Crescent)
Width: $#MOONAGEPERCENT#>=0.75?[Moon Radius/2]*(#MOONAGEPERCENT#*4-3)):[Moon Radius/2]*(1-4*#MOONAGEPERCENT#)$
Mask Out
Width: ([Moon Radius/2]*(clamp(3-4*#MOONAGEPERCENT#,0,1)-clamp(2-4*#MOONAGEPERCENT#,0,1)))
Mask Left:
XPos: ([MoonXPos - Moon Radius/2]+[Moon Radius/2]*clamp(1-4*#MOONAGEPERCENT#,-1,0))
Mask Right
XPos: ([MoonXPos + Moon Radius/2]+[Moon Radius/2]*clamp(3-4*#MOONAGEPERCENT#,0,1))
Mask In Image
Mask Out Image
Mask L/R Image

Here is one of the ones could not have done without the example from @petruuccios, just for comparison. It has easier radius numbers, if not X/Y:
1 Like
I used various square images when experimenting, so I am not sure anymore, but I think those were 1x1 white tinted black stretched to 120x120, hard to see when I enter it here ![]()
![]()
Then half circle and half cut-out with slightly blurred round edge. I stretched them a bit more in width so the new and full phases last tiny bit longer, which may not be true to celestial mechanics, same as the linear developement of the shade according phase % might be sometimes ahead sometimes behind actual shade.


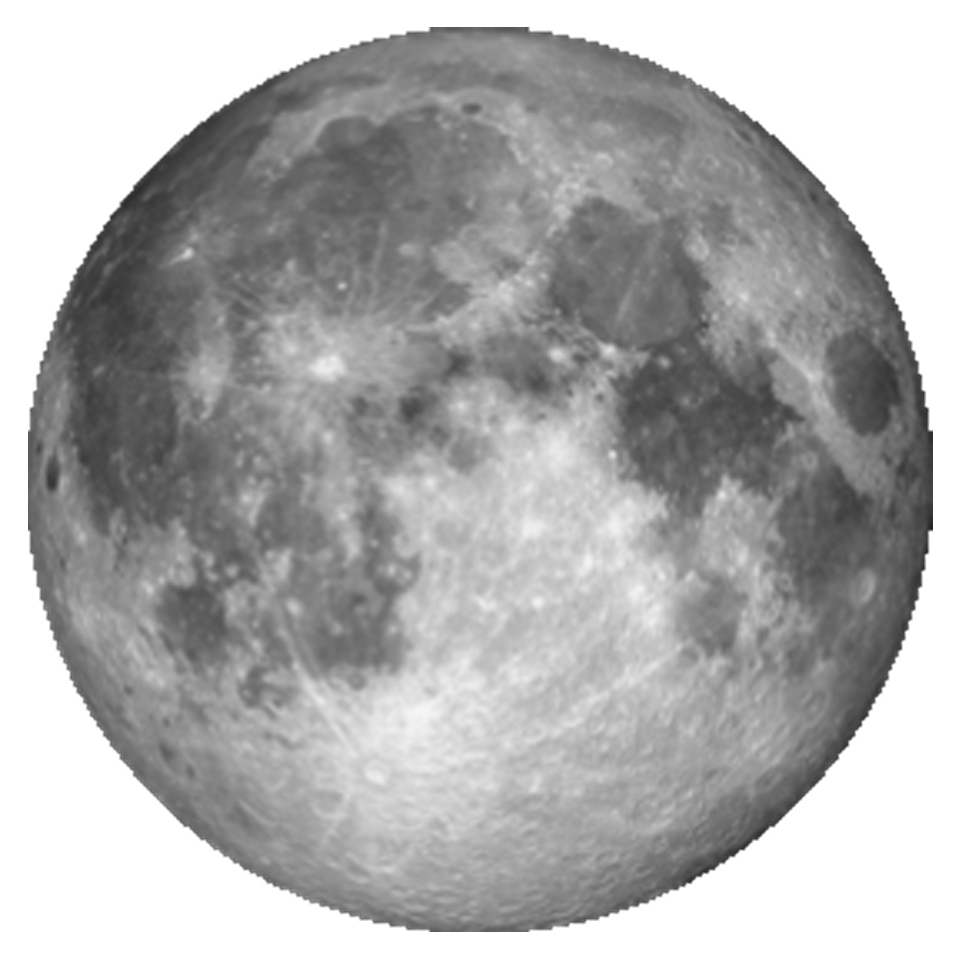
And I used this moon template as example
also white versions for tinting here:
![]()

1 Like
I found it a bit easier if all the resources were on the same template .
I got a bit lost having made a new set on my cad as it makes a little transparent border round the Renders making the Square difficult to get right .
.

2 Likes
I had that. Had to fill pixel column 98 of 196 on the 2nd on mine.
I wanted the cropped ones because it makes the size maths easier if it is all the same diameter of the moon, even if the moon is a diameter/2 shape with no additional border.
1 Like
Here’s my finished watchface using the @petruuccios second method - it wasn’t easy to get it to work particularly as I had the half moon template white instead of black! Just in case you miss it - the hands go red at 16% battery
However here is my Blue Moon hybrid :
4 Likes
Nice. Nailed it.
2 Likes
@BIELITZ . Oh Yes . I think Peter has given us a new Standard . I love that it is continuous and very real. Love the Blue Moon .
2 Likes
I did not invent it, just remade it from what I have seen on some forum. Unfortunately I cant remember where, so I cant give right credit.
4 Likes
You brought it here, which deserves at least a tip of the hat good sir.
3 Likes
Yes . But you brought it here . Thanks so much .
3 Likes
OK, the single character text field version works a treat:
$(round(#MOONAGEPERCENT#*27))==1?:$$(round(#MOONAGEPERCENT#*27))==2?:$$(round(#MOONAGEPERCENT#*27))==3?:$$(round(#MOONAGEPERCENT#*27))==4?:$$(round(#MOONAGEPERCENT#*27))==5?:$$(round(#MOONAGEPERCENT#*27))==6?:$$(round(#MOONAGEPERCENT#*27))==7?:$$(round(#MOONAGEPERCENT#*27))==8?:$$(round(#MOONAGEPERCENT#*27))==9?:$$(round(#MOONAGEPERCENT#*27))==10?:$$(round(#MOONAGEPERCENT#*27))==11?:$$(round(#MOONAGEPERCENT#*27))==12?:$$(round(#MOONAGEPERCENT#*27))==13?:$$(round(#MOONAGEPERCENT#*27))==14?:$$(round(#MOONAGEPERCENT#*27))==15?:$$(round(#MOONAGEPERCENT#*27))==16?:$$(round(#MOONAGEPERCENT#*27))==17?:$$(round(#MOONAGEPERCENT#*27))==18?:$$(round(#MOONAGEPERCENT#*27))==19?:$$(round(#MOONAGEPERCENT#*27))==20?:$$(round(#MOONAGEPERCENT#*27))==21?:$$(round(#MOONAGEPERCENT#*27))==22?:$$(round(#MOONAGEPERCENT#*27))==23?:$$(round(#MOONAGEPERCENT#*27))==24?:$$(round(#MOONAGEPERCENT#*27))==25?:$$(round(#MOONAGEPERCENT#*27))==26?:$$(round(#MOONAGEPERCENT#*27))==27?:$
Using any font from: Nerd Fonts - Iconic font aggregator, glyphs/icons collection, & fonts patcher
Well, the character map may vary but I think the patcher should put them in the same order. Not going to try my own. Don’t have those code skills. I use Envy Code. The non mono seems to work better for single character glyphs.
2 Likes