Here I am with another tutorial.
Today I will cover how to use a “Normal”, or “Bump” texture map designed for 3d engines in order to get active, more life-like lighting on a face.
I will take you through a process that I used to create faces like this one:
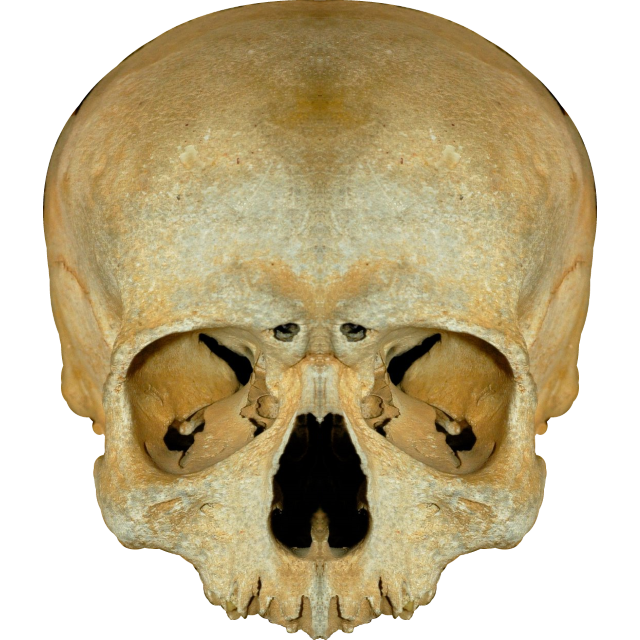
First off we will need a start image:
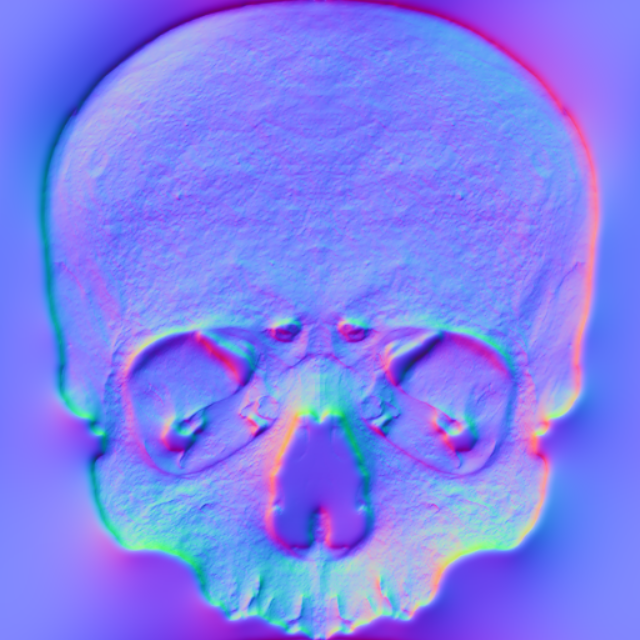
And created based on it Normal map:
I will not cover the creation of Normal maps - there are way too many tutorials covering it all over the internet (but if don’t want to google it yourself: http://lmgtfy.com/?iie=1&q=How+to+create+Normal+map )
Now we take the Normal face and split it by color channels.
We specifically need the green and red channels.
Save both of them, then duplicate them and in those duplicates invert black-white spectrums.
Congratulations you should have 4 images, like those:
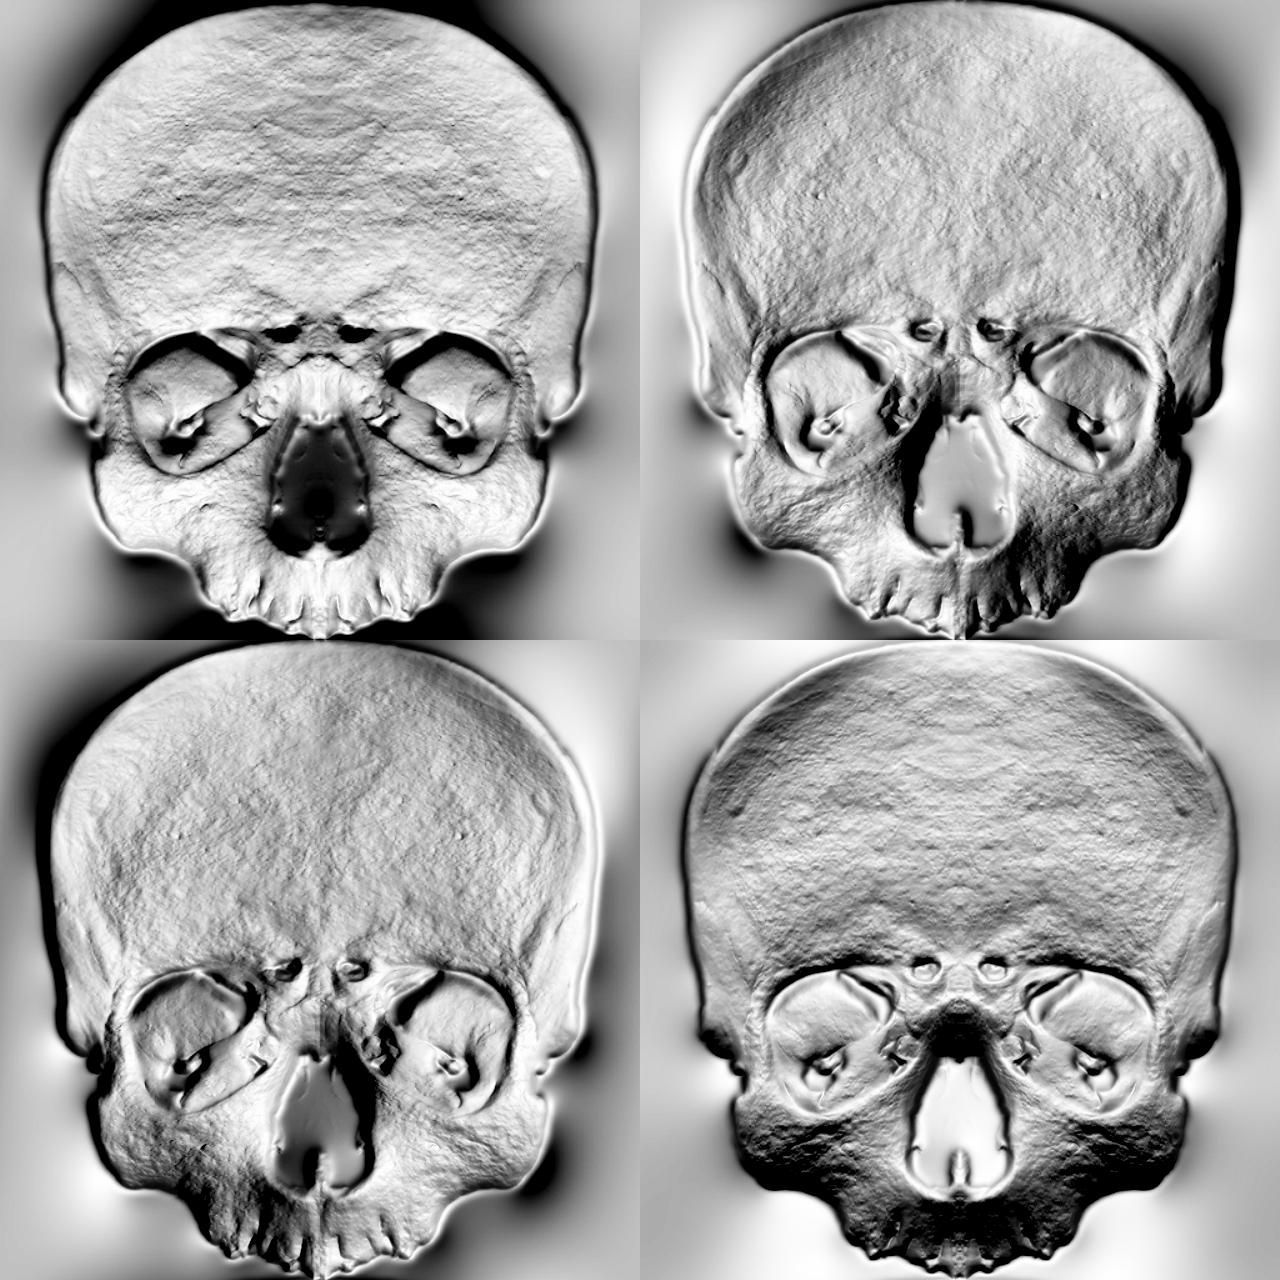
What are they?
They are your image lighten from all sides.
Now we add those images on top of the original one (in higher layers) and add those codes to their transparency:
For the one lit from the top:
(clamp(((10)*(accelerometerRawY())),0,100))
From the bottom:
(clamp(((-10)*(accelerometerRawY())),0,100))
Left:
(clamp(((-10)*(accelerometerRawX())),0,100))
Right:
(clamp(((10)*(accelerometerRawX())),0,100))
And now you should have something like this: Mellin - A Skull test - watch face for Apple Watch, Samsung Gear S3, Huawei Watch, and more - Facer
As you can see I did a little more when it comes to editing those images, but this tutorial covers only the basic idea and the math.