Hi to all
Here again to learn something new, if someone help me. With Progress battery i can change the color of the ring /bar according to battery consumption.
Now i would do the same with a heart icon changing colour according to BPM.
For example :
0 /9 0 BPM = 1 Colour
90 /130 = Different colour
130 / 200 = Different colour
Or something like the example above. I do not exactly know if the intervals i have supposed are correct.
Could someone help me in realizing this?
Thanks in advance for any help that could arrive
A nice day to all
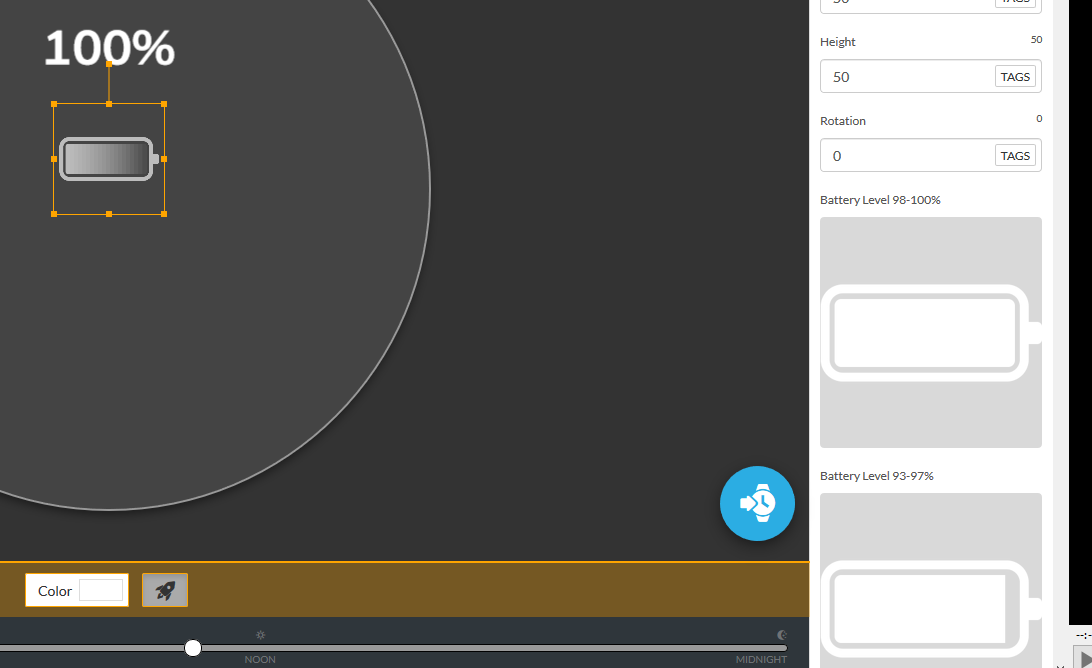
Put a standard image of the battery and replace the options for each battery state with your own. This avoids the use of tags. You can see this in the lower right corner of the screenshot. But there is another way to go.
Change the color of the heart icon using the same expression in opacity you would use for the battery except change the #TAG# to the heart rate instead of using the battery tag. It will require three different icons with three different colors and opacity expressions.
Hi mrantisocialguy
I tried what you suggested, and yes the icon change colour, but at wrong intervals.
These the tags i have used:
BATTERY:
Colour 1 : OPACITY = $#BLN#>40?100:0$ BACKG OPACITY = $#BLN#>40?50:0$ (GREEN)
Colour 2 : OPACITY = $#BLN#>=20&&#BLN#<=40?100:0$ BACKG OPACITY = $#BLN#>=20&&#BLN#<=40?50:0$ (YELLOW)
Colour 3 : OPACITY = $#BLN#<20?100:0$ BACKGROUND OPACITY = $#BLN#<20?50:0$ (RED)
and this works fine
HEART:
Colour 1 : OPACITY = $#ZHR#>40?100:0$ BACKG OPACITY = $#ZHR#>40?50:0$ (GREEN)
Colour 2 : OPACITY = $#ZHR#>=20&&#ZHR#<=40?100:0$ BACKG OPACITY = $#ZHR#>=20&&#ZHR#<=40?50:0$ (YELLOW)
Colore 3 : OPACITY = $#ZHR#<20?100:0$ BACKGROUND OPACITY = $#ZHR#<20?50:0$ (RED)
This change colour, but intervals are not correct
Thanks for your reply and help
Greetings
OK, now all you need to do is change the intervals to what you want on:
Colour 1 : OPACITY = $#BLN#>40?100:0$ BACKG OPACITY = $#BLN#>40?50:0$ (GREEN)
Change the “>40?” to the number that you want it to start at. Say you want it to be one color above 70 BPM then you would have “>70?” and just do your changes in that area. Remember > is greater than < is less than and if you want to start at a exact number you would use >=xx (greater than or equals) or <=xx (less than or equals). Just change your numbers to what you really want.
Thank you so much. This is a great help. I supposed something similar, but unfortunatelu mathematic is not my main course. I’m more on the side of literature. LOL
Thanks again
Have a nice week end and…virus free
Many of the expressions here are incorrect. You need to have a >= in some places or else the ring/bar will completely disappear.
For example, the expressions given as:
{Custom battery red $#BLN#>=0&&#BLN#<30?100:0$ Custom battery yellow $#BLN#>30&&#BLN#<60?100:0$ Custom battery green $#BLN#>60&&#BLN#<=100?100:0$}
If you were to use the above expressions, you’d find that when your battery was exactly at 60% or exactly at 30%, the bar would disappear.
Use the following instead…
$#BLN#>=60&&#BLN#<=100?100:0$ for green (60 to 100)
$#BLN#>=30&&#BLN#<60?100:0$ for yellow (30 to 59)
$#BLN#>=0&&#BLN#<30?100:0$ for red (0 to 29)