How do I get started? I’m not a frequent user of photoshop but I want to make a design that uses more shapes than the limited ones found on the Facer UI.
What dimensions should I make my file if I want to make a background? Width, height, resolution?
How do I save the file when I’m done?
What am I missing? Any advice?
Thanks!
Signed, a curious and very inexperienced user.
Also signed, John
I have used photoshop for most all of my faces so I can help you out. Now I don’t know if this size recommendation is the best option but it is what I use regularly and I’m very pleased with how my faces turn out. I use a 640x640px template with a resolution of 72. The facer creator is only 320x320px so it works best if you use multiples of that number. 320, 640, 960, etc.
When you save your files its normally a good idea to save as PNG. It’s not the only file type that the creator can use but when you start making more intricate pieces you will want a lot of transparent backgrounds so you can stack layers on top of each other.
Feel free to ask any other questions you have, we would be happy to answer them.
Also, welcome to facing!
~Orakix
I’ve been a photoshop fan since version 2.5 on Windows (1992). Size is your preference though the Creator will scale your images neatly if you build your art in multiples of 320. I usually work at 960 x 960 but if my design is a simple one I’ll work at 640 x 640. Creator will scale everything down to 320 x 320. I work entirely at 72 dpi. Remember the watch is so small there’s no need to build super high resolution files.
TYPES: if I can get a way with JPGs I do so (like a static background). Otherwise everything is PNG-24 files most always with transparent sections to see though to the artwork below.
Haha we posted basically the same thing at the same time. Although you said you work normally in 960x960, do you think I should start doing that? I was concerned about keeping the file sizes smaller because I’m working with almost 100 layers in my watches these days. Does the file size matter once the creator takes it and resizes it to 320?
Sorry to revive an old thread, but… With apple watch 7, and a screen res in the 44mm version being 396 x 484 does the 320x320 still hold true or should I be going to 640x640 and let it downscale?
Once I tried to make watchface for apple watches the working area was like 360x436.
I do not know if it all gets visible since I do not have apple products to test with.
Facer automatically scales down every entered image, but you can adjust the size afterwards.
Well this certainly raises more questions. I appreciate the info.
So If I make a 640x640, and bring it into creator, it scales it to fit within the working area. I can then resize it to fit to my liking. This raises the first question.
Just like if you take at 32x32 file, open it in photo shop, and try to resize/scale it 256x256, the image becomes pixelated, Does the creator do this also? ie: takes my 640x640 image, converts it to 320x320, and then if I increase it I get the best aproximation of how a 320x320 image looks full screen on a 360x436?
OR
Does the creator work more like inline images on a web page, I have a 4096x4096 file, but I can choose to display it at 256x256 in one spot (thumbnail) but when clicked it opens in all it’s glory? ie: the original image size is never truly changed just displayed smaller, so that if I then as you say increase it’s size I’m not really stretching the image to fit a larger area than what it is?
And now we have question two. If the working area is 360x436 and my watch face is 396x484, that leaves 36 pixels unused vertically and 48 pixels unused horizontally. Does the final product then get stretched to fill this area? Is it centered and the unused portions are empty? Can I increase the working area and design for the watch’s native resolution?
Guess that last one was more than two questions but it’s one answer for all i’m sure.
@lorddayradon I can not be too sure as I have done virtualy no Apple stuff. But I am certain that if you give it a go you will see that you can size the Image in both X any Y axis independently. Always bring your image in bigger than the watch resolution. When you have had a practice I am sure you can come up with the correct Aspect Ratio and Reaolution to suit the Images you want to Install. Have ago and show it off here.
I have a suggestion and it relates to the DPI term used (and it’s big misinterpretation)
A quick lesson for those that are not aware. Resolution like 320x320 or 640x640 can NOT be used in conjunction with DPI, lets say 72 as is commonly thrown around here.
DPI ( dots per inch) represents how many dots of ink (or pixels) are placed per inch of canvas. So If you make your image/animation based on a DPI of 72, then for every inch H & V there are 72 pixels
For my particular case, my watch is 44mm and 396x484 pixels of screen size. If I work in a DPI of 72 pixels per inch, then my horizontal width is 5.5 inches and 6.72~ inches height.
DPI is most commonly a requirement for Printing and Scanning. A printer is only capable of printing so many dots of ink per inch, and likewise, a scanner can only produce a scan representative of so many pixels per inch of area scanned. Some can go up as high as 1200/per inch (maybe more now).
With digital devices with screens, that display in a fixed H&V format, DPI is irrelevant. In my case my apple watch equates to DPI’s of H 396 pixels / 1.73228 inches = 228.6004572009144 DPI and V 484 pixels / 1.73228 = 279.4005588011176 DPI
So in short, keep DPI out unless dealing with a printer or scanner.
To the resolutions:
Apple watches have rectangular screen, but not square, its is visibly higher than it is wide.
The inserted image will be reduced, but somehow I can see there in preview all its details, just blurred.
Yeah, I guess I’m trying to figure out is it a resample or resize, that takes place when an image is imported that is larger than the work area/canvas. If parts are blurring, then it sounds like a resample rather than a resize.
If that’s true, then it means to design faces with max quality I have to work within the canvas, and leave portions of my watch face blank which defeats the purpose of a larger screen.
What I’ve seen (on the WearOs creator), is that images are probably twice the resolution as displayed, up until 640x640.
So a 100x100px image will show as 50x50 (and i think it is resized), a 640x640 will be 320x320, but a 2000x2000 image will be resampled to 640x640 and displayed as 320x320…
What I do is work in Photoshop at 2000x2000, then use Photoshop to resample it to a 640x640 png and use that in Creator. Those images look better than using the 2000x2000 png and have creator do the resampling.
This also means that if you want anything larger than 320x320, it will looked blurred in creator.
Thanks for that @ThaMattie I am obviously on the limit with my 2400x2400 but the antialiasing on my CAD is so weak that I have to push it as far as I can . I always wonder How people get the beautiful thin second hands : )
Thanks @ThaMattie . This is exactly the info I was hunting for. is there a reason you 2000 instead of a multiple of 320/640? 640 goes in 3.125x, means some of the pixels will be merged/dropped in the resample.
@petruuccios Yeah that’s definitely a resample, with or without a resize also.
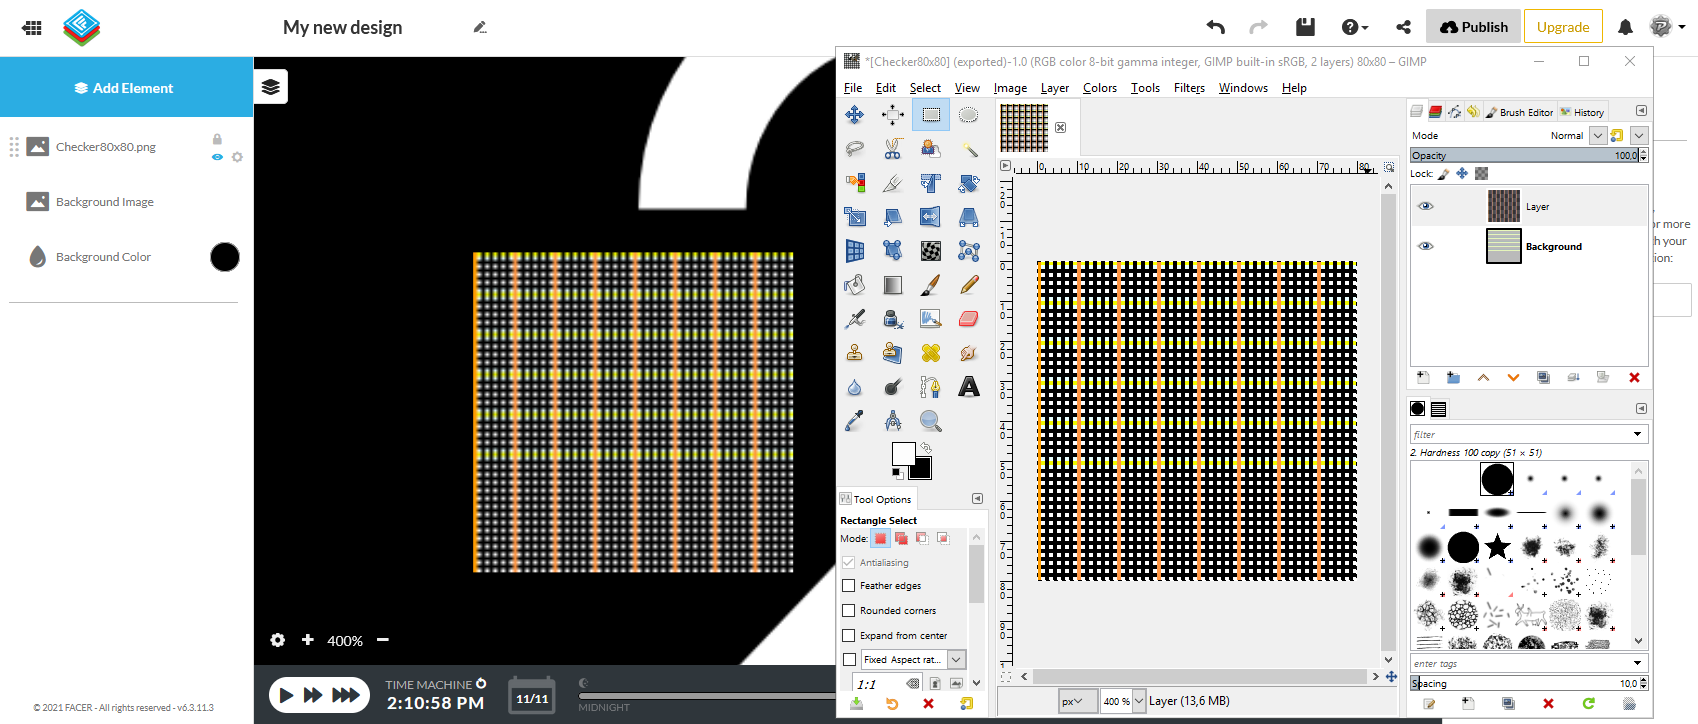
I should note though, that the image on the left is 25% resize of the one on the right. which means it works out to 20x20 pixels (ie: the 400% magnifying) there is going to be detail loss doing that and hence the blurriness
Not really, other than it’s easy to work with round numbers when you want half, of quarter, etc…
Maybe I should look into working 1920x1920, but so far the resampling in Photoshop is really good, so doubt I’d see the difference. I do sometimes switch from biqubic, to nearest neighbour, or w/e algo’s if i want to see the details better
 but it’s one answer for all i’m sure.