how to make second hand like in the pic,

1 Like
That is a good question! You got me wondering how, and this is what I came up with:
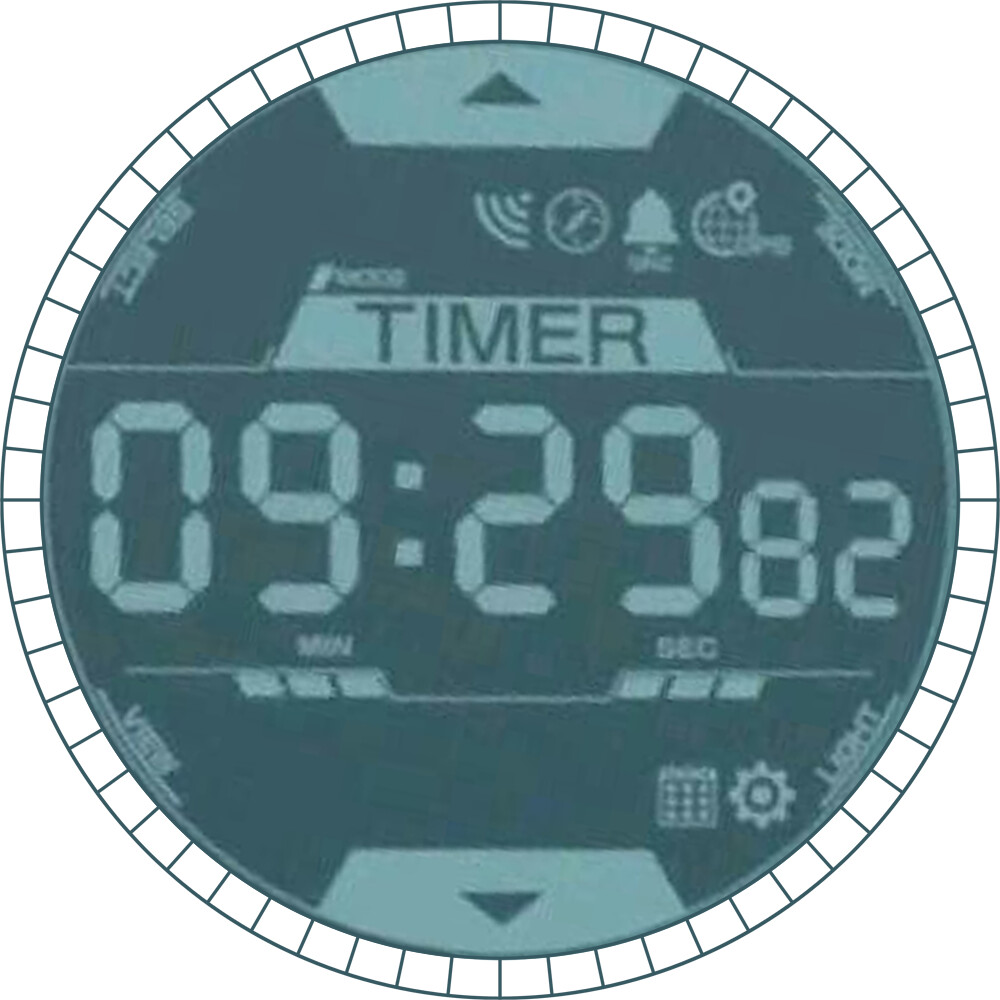
- I used the exact face from the photo you posted as a static “dummy dial” to make it a quick and easy test.
- In Photoshop I made 60 segments around it using color 375962 as the border, to match the seconds segments of the image. See below, that gave me the dial image (again, it’s just a dummy test dial).
- Then I made a solid background using the color 76a7ab and put it behind the dummy dial, see below.
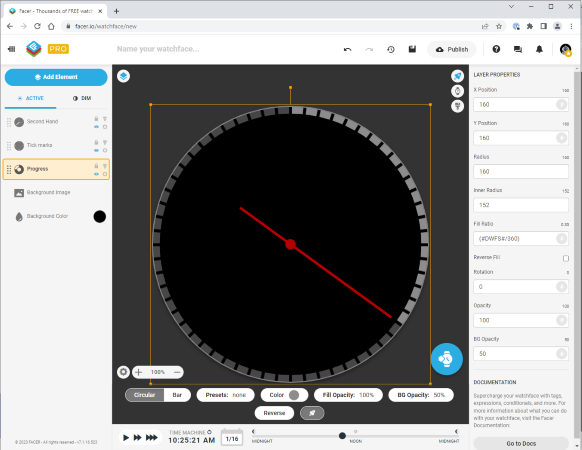
- Then I sandwiched a circular progress element between the dummy dial and the background, centered at 160/160 on the face, with the following attributes:
- Color: 76a7ab
- Radius: 160
- Inner radius: 147
- Fill ratio: (#DWFS#/360)
- Then let it rip!

4 Likes
Update: I went back and added a regular analog seconds hand, just to test.
2 Likes
Thank you
3 Likes
It was more research and discovery… I had no answer to the original question, I myself wanted to know!
Plus… I had never used a progress element before and it felt like just the thing to use, so I had to figure that out too.
3 Likes
@kourosh . You did a good job . Clear outline of what to do . some times you have to rotate the progress bar a few degrees so the 12 window is not split . some times it is a Good Idea to light that tick permanently . These things we discover when we have a go .
Here are a couple of masks I have made over the last two years . Sorry they are in low res . but good enough I hope . Certainly Good enough for tests .
I used to represent the Seconds just like that ![]()
Good job @kourosh and @russellcresser I seem to remember those Templates.
Here’s an earlier Face I did that isn’t Digital with Inspection Open, where all I used was a circular 60 segmented mask with a Progress ring underneath it that had the Tag (#DWFS#/360) just like @kourosh said and @russellcresser has provided -
2 Likes
Very nice. I have seen this on other creators faces before (yes, @icrltd4 got some nice ones), but haven’t really felt I needed to use this.
Not to spoil things, but there is also a cheap approach if I may add to this topic:
Use a circular progress bar, using “Clock Seconds”. Change the fill ratio to from “DWFSS” to “DWFS”, and add tickmarks over it, in the same color as the background.
3 Likes
Just wanted to say the exact same thing… that’s the fastest solution.
Can be used with any progress bar (steps, battery…).
1 Like
Total Calorie count. Estimate and Exercise / Steps. One above the other. In 6 degree steps. Yum.
thank you so much for your help mate . i just finish my watch face
2 Likes
how i stop the AOD ?
For sunset/sunrise you can use:
Text: SUNRISE: #WSUNRISE24#
Opacity: $#DISDAYTIME#=true?0:100$
Text: SUNSET: #WSUNSET24#
Opacity: $#DISDAYTIME#=true?100:0$
So only one of them will be shown, depending if it’s daytime or night time.
For wind speed you can use:
$#UNITSYS#=IMPERIAL?(round(#WND#)) mph:(round(3.61*#WND#)) kmh$
And it will auto-show km or miles, depending on users settings.
1 Like
ok i will update it soon , but i have issue how i stop the AOD is showing green circle bar is not cool
You’ll have to make another one in, let’s say white, and make it visible in DIM mode only.
Hide the green one in DIM mode, hide the white one in Active mode.