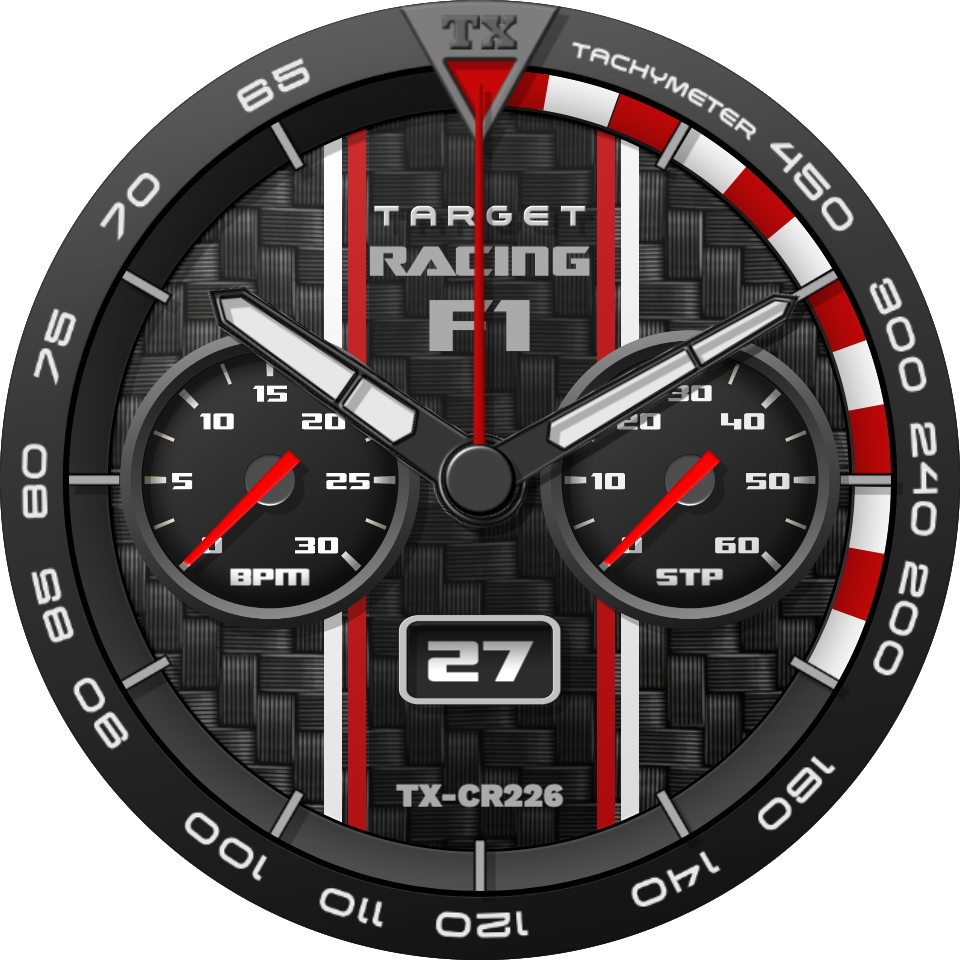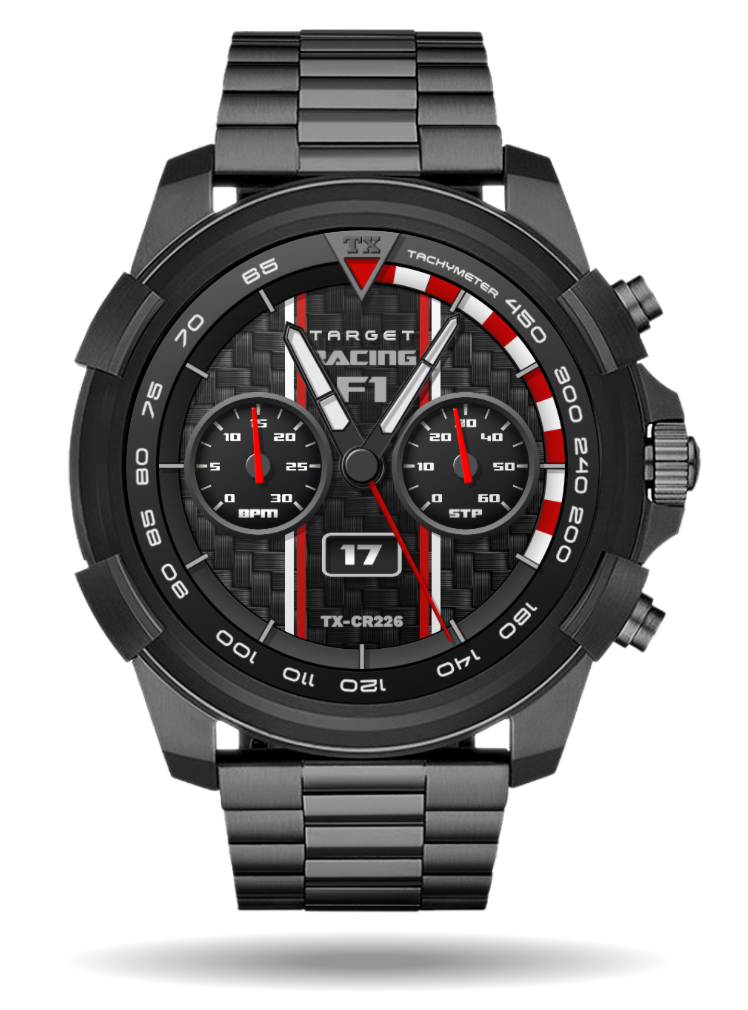
I have been asked more than once how my chronograph style watch faces are created. It is mix out of elements I have created using a vector graphics program, free pictures found in the Internet, and resources shared in the Facer community.
I do not create the whole face in the graphics program for 2 main reasons:
- It is sometimes easier to use the shadow function in facer
- It is easy to use the same element again and give it a different color for the dim mode
Pictorial:
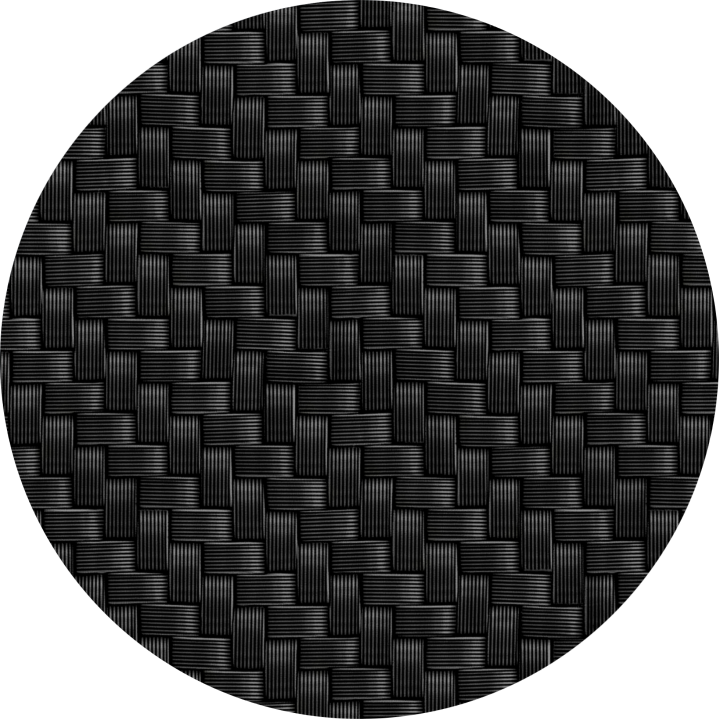
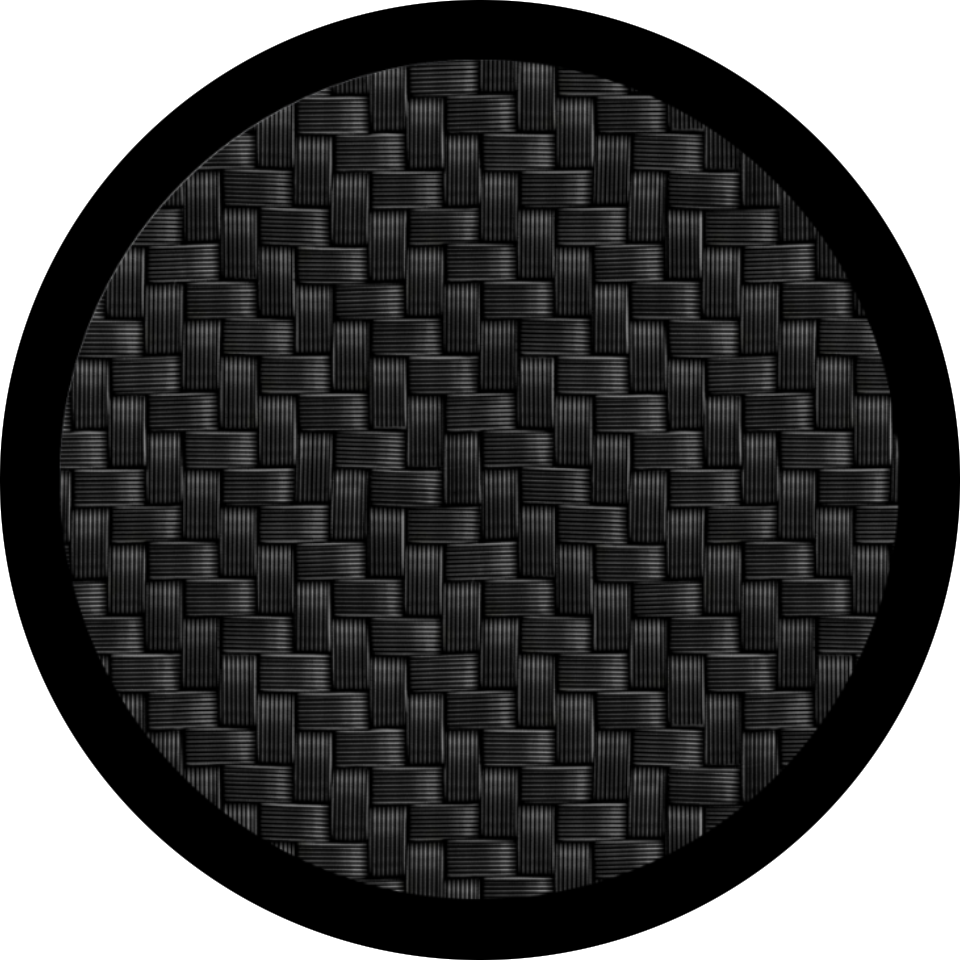
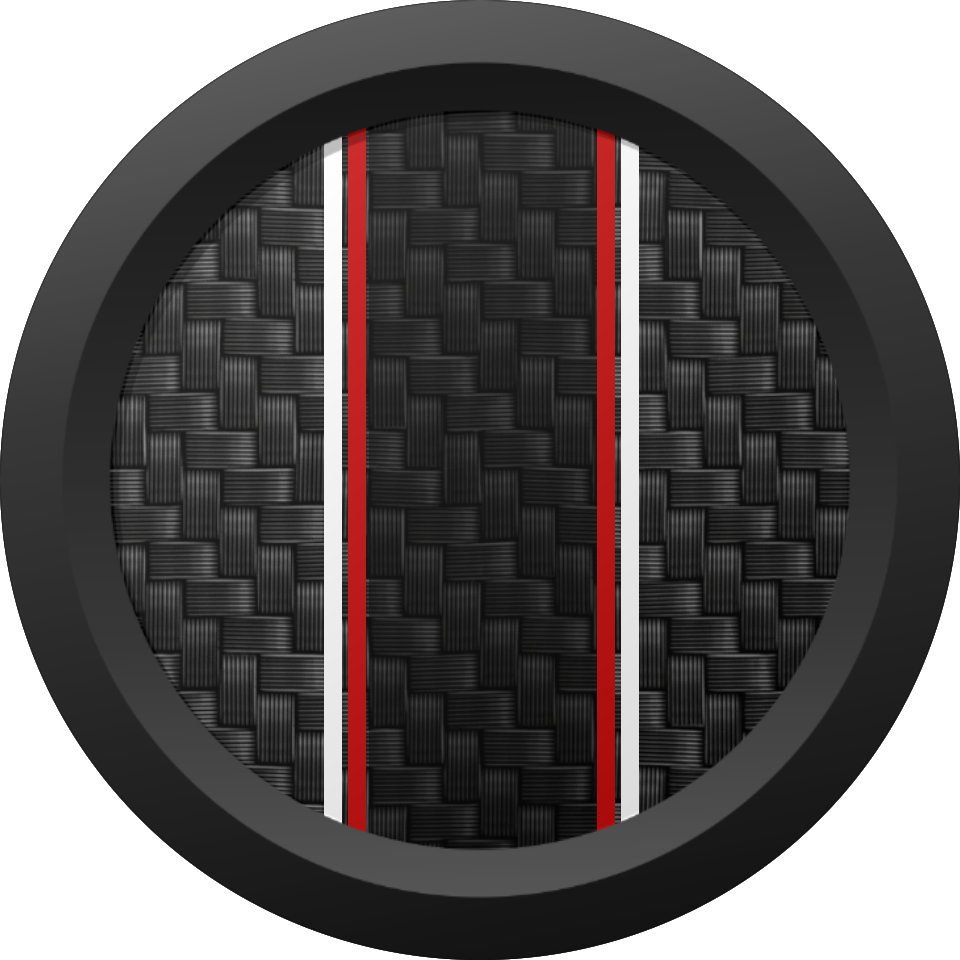
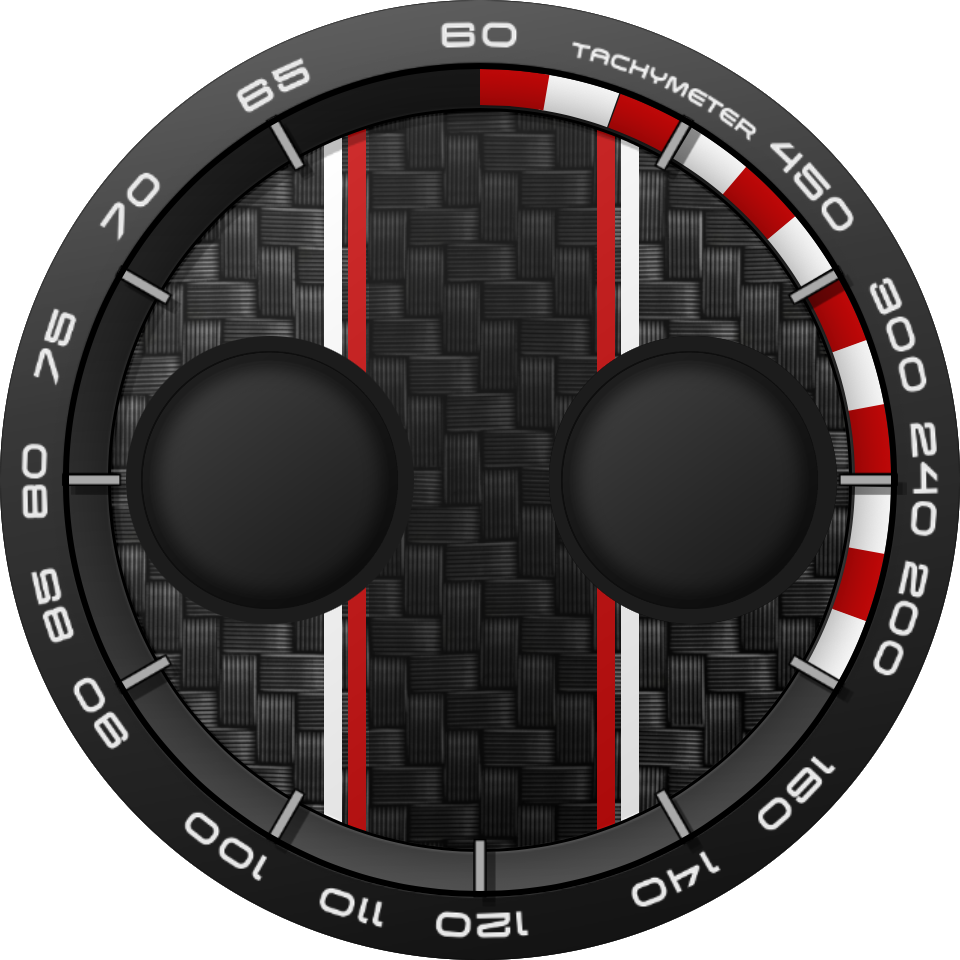
Add a background. Picture cut to a round png file.
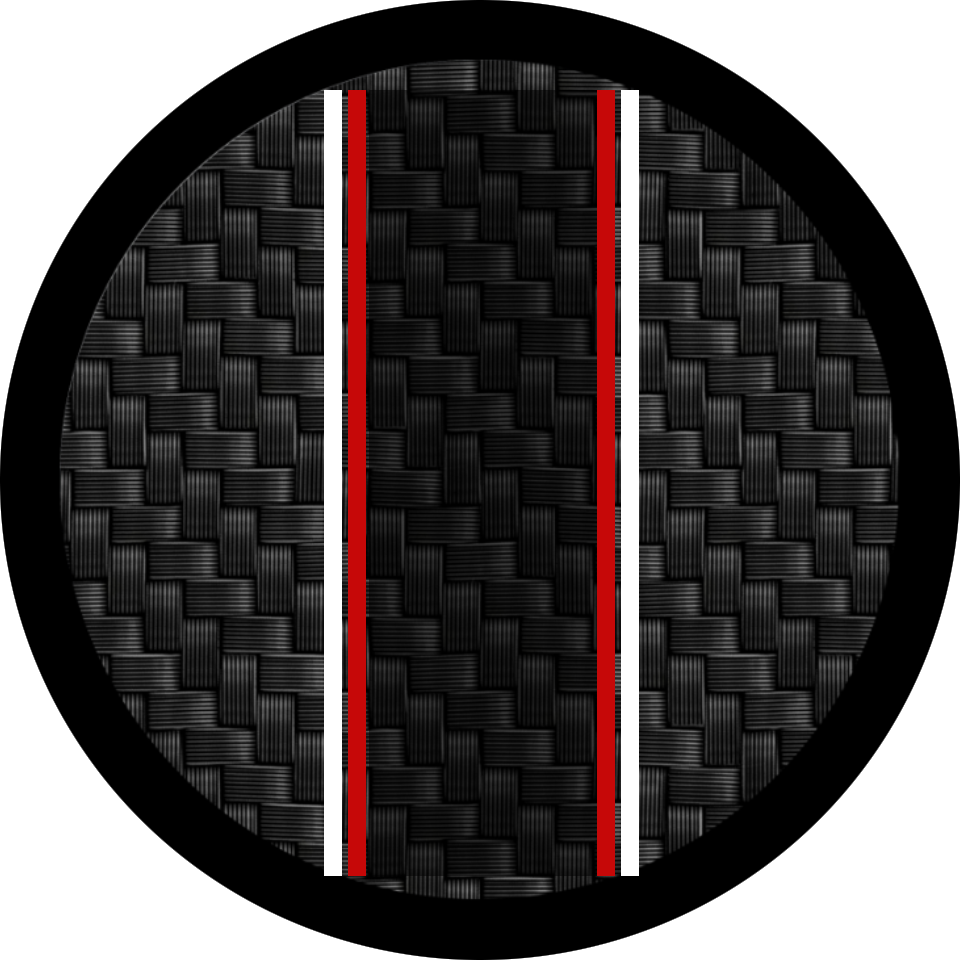
Add stripes. These are standard rectangle elements. Center one is 50% opacity.
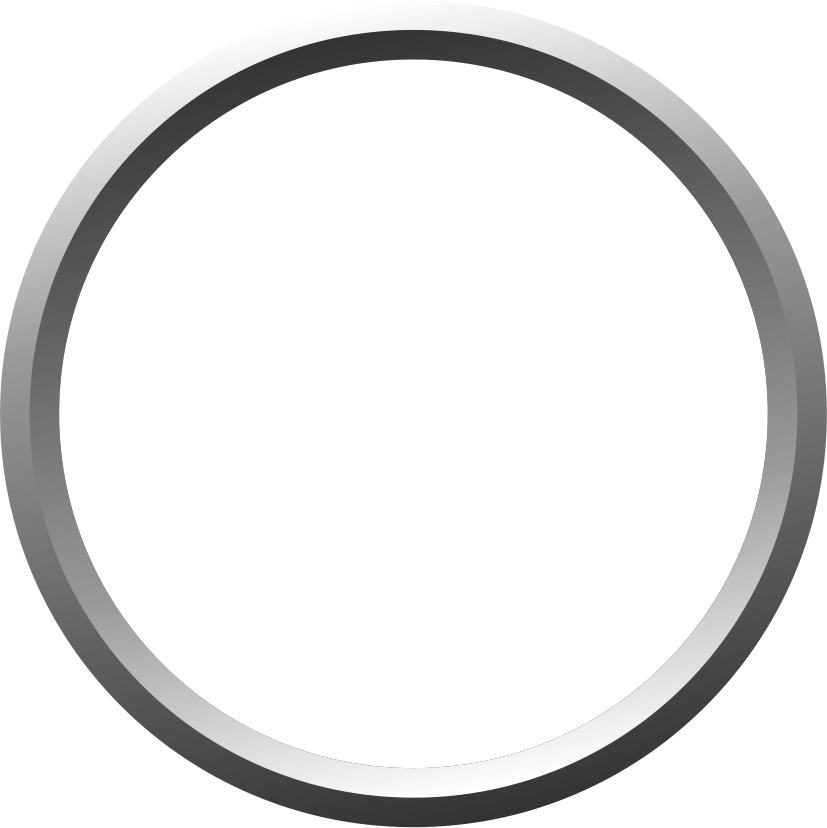
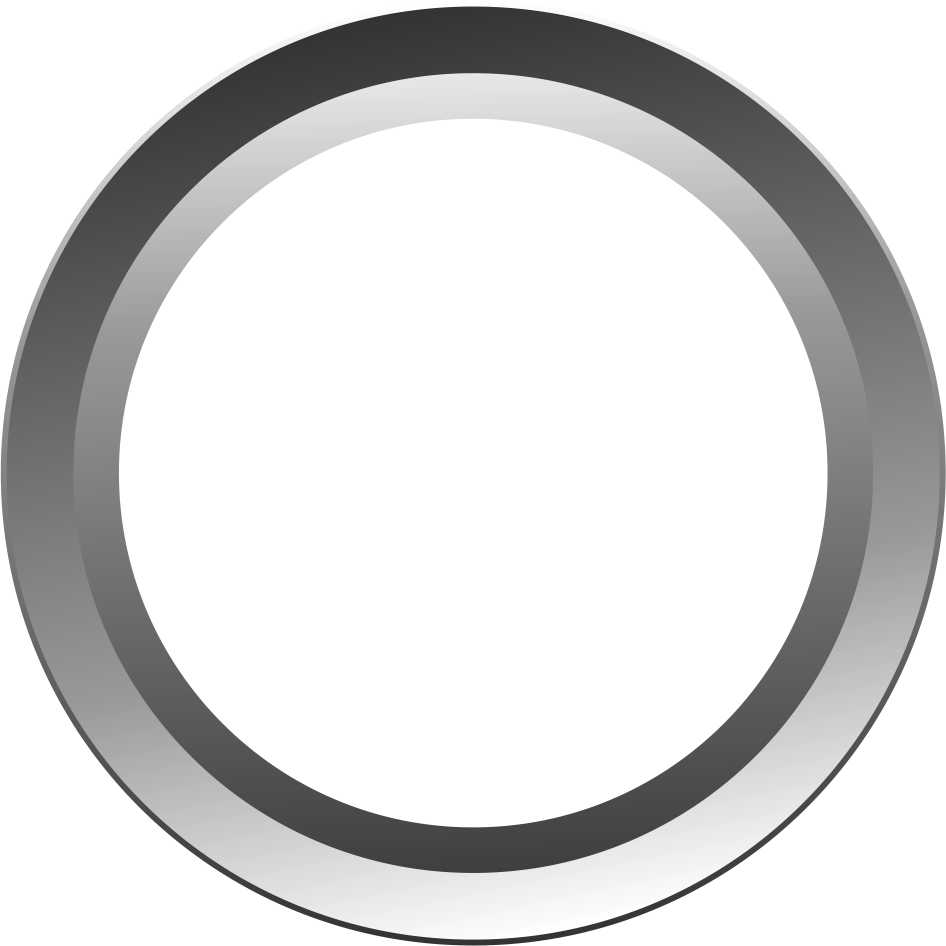
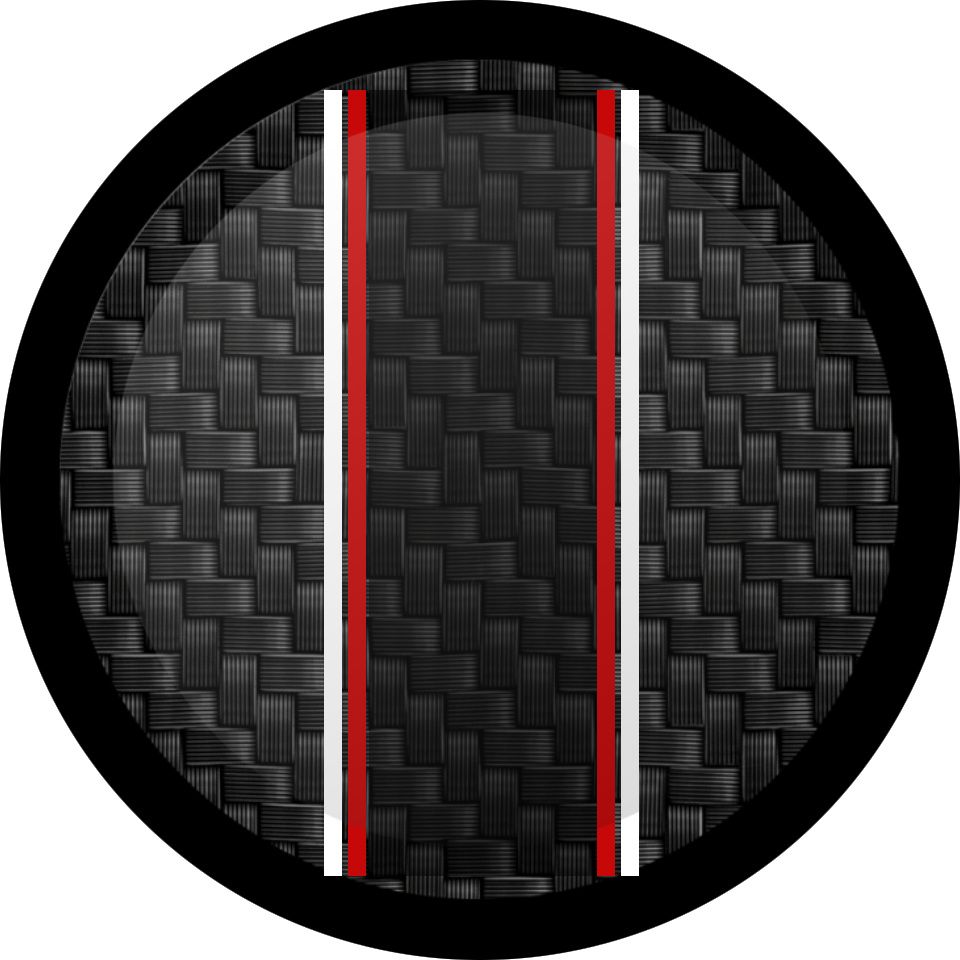
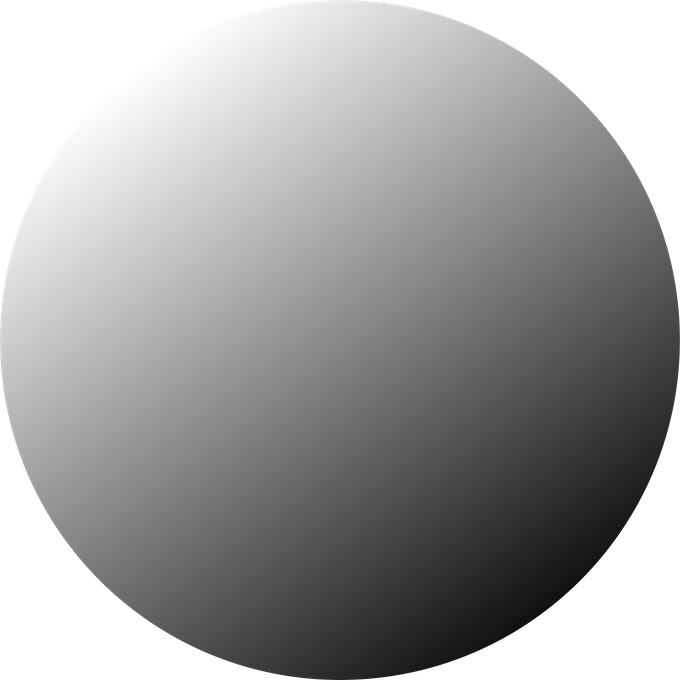
Add shade to give it a round and light to dark effect. This is a simple shaded circle as further below, but used with 15% opacity.
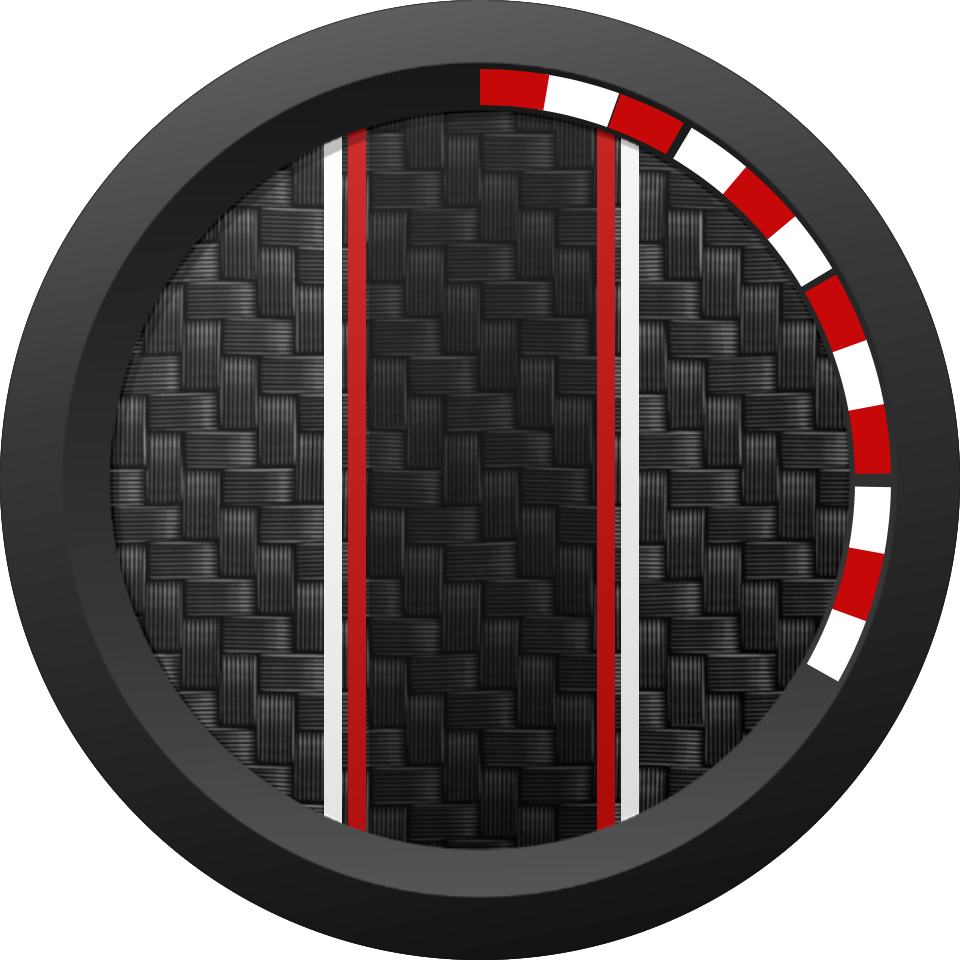
Add rim. This is a created element. But basically 2 rims with opposite shading. Added facer shadow.
Design elements added. These are simple arc elements are not well aligned here…. Added shadow to give the curb a bit of a 3d effect.
Add tickmarks with shadow and tachymeter bezel. These are created elements. Also added 2 shapes as background for the 2 dials
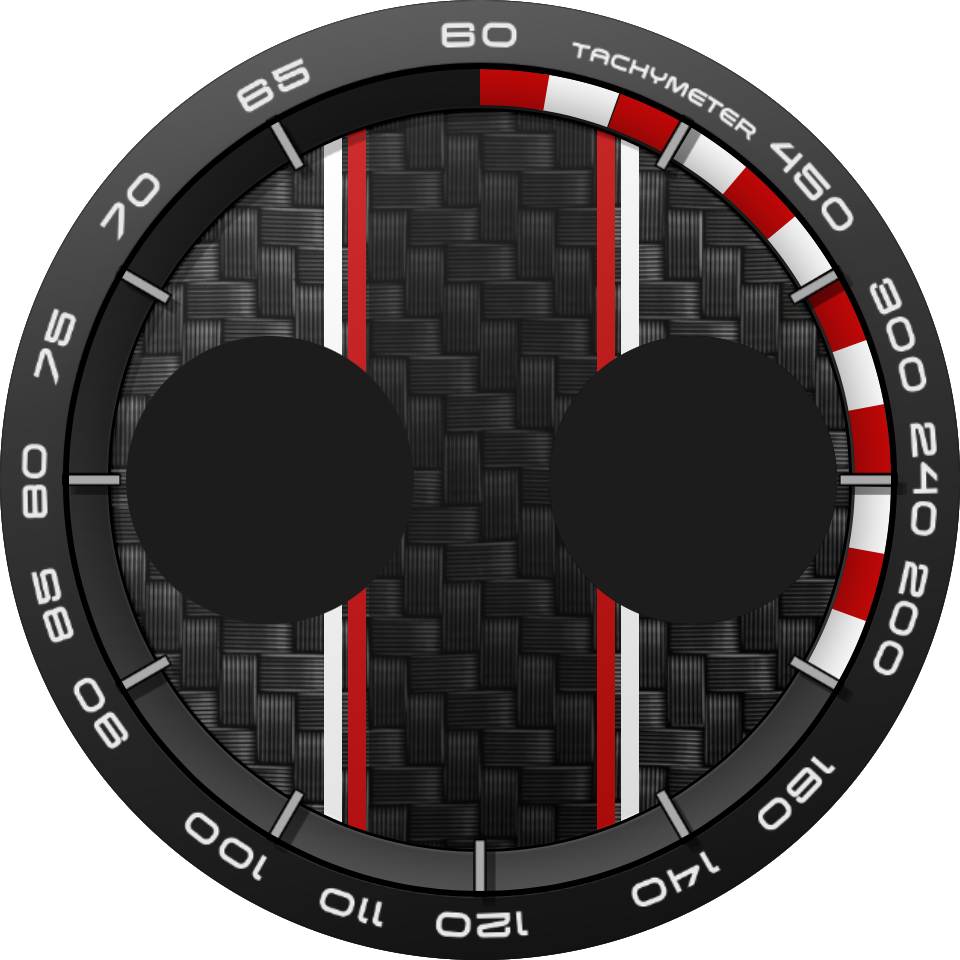
Added same shadow used before for the 2 dials (15% opacity). Added thick dark shadow. Taken from the Facer community resources.
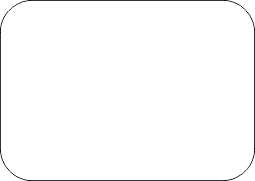
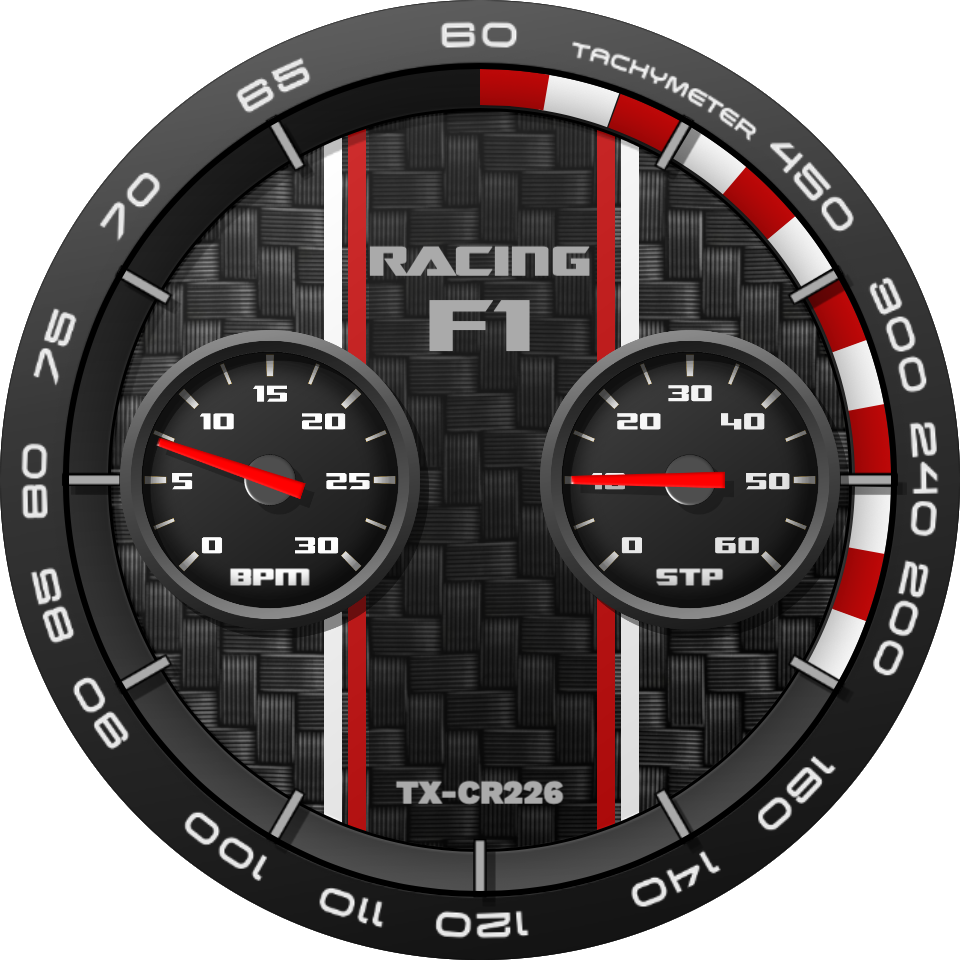
Added rims (with shadow) for the dials and numbers. Created with a graphics program. Bmp, stp, racing f1, and series number are text elements. Added date background and small hands. All created with a graphics program.
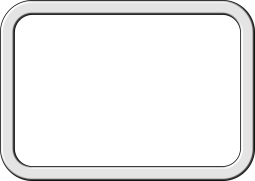
Added date, date rim and shadow to give a 3D effect. Shadow added (see image further below), used with 65% opacity. Added target logo (image).
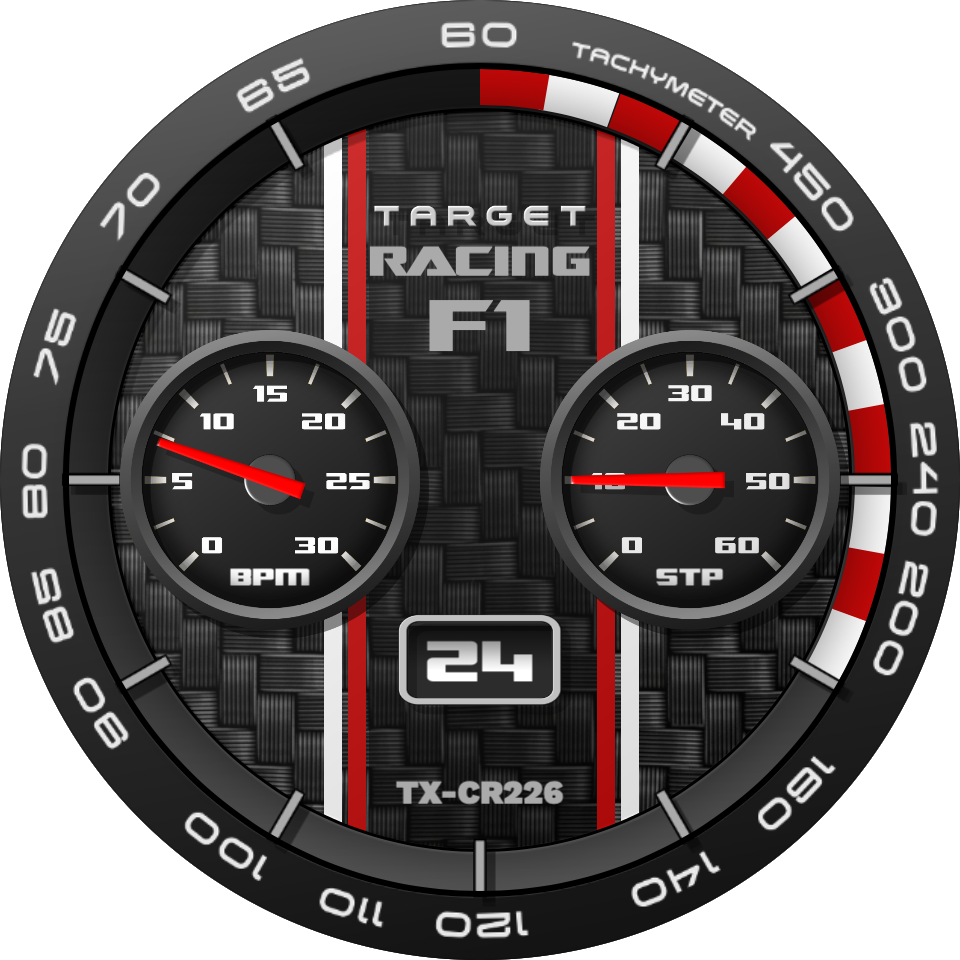

Added hands and center point, all created with a graphics program. Hands are rims with separate background hands, so that color can be changed in dim mode.
That’s it!