So. Many will know these steps. Others may have better ways but I thought it a good place to start a discussion on making an image mask from shape masks to reduce the end overhead and overall prettyness and stuff.
I’ll use fairly simple shapes/images and the tools I am used to:
paint.net
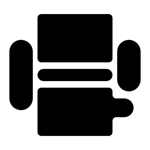
So. I start by laying out the elements that I want on black shape masks (or images for more complex shapes on a white background. The I remove the data elements and export.
I can then use the selection wand to cut positive and negative masks.
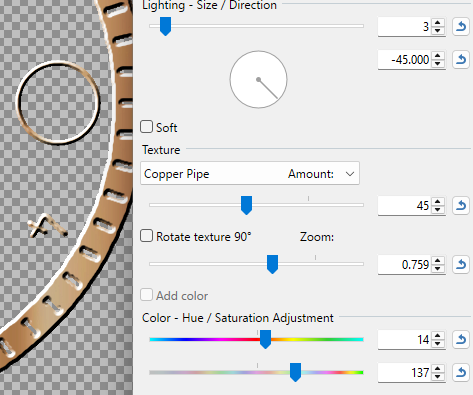
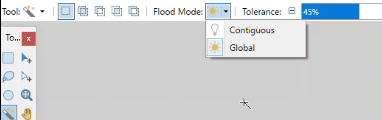
You need to select the relevant flood mode and tolerance and then delete the bits you don’t want to transparent.

I re-size to 640 as my base go-to size based on what I have read here from the word go and, for applying effects expand the canvas by 20px each way. Bevelling gives you erroneous edge glow otherwise.
For a simple bevel to existing load up your background image, expand the (image if not 640) and canvas to match your masks.
Add a new layer and paste your mask into the new layer.
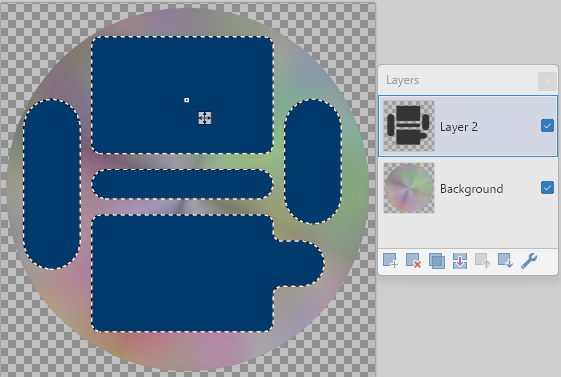
Select the portions you want to cut on that layer. Switch to your image layer and delete.
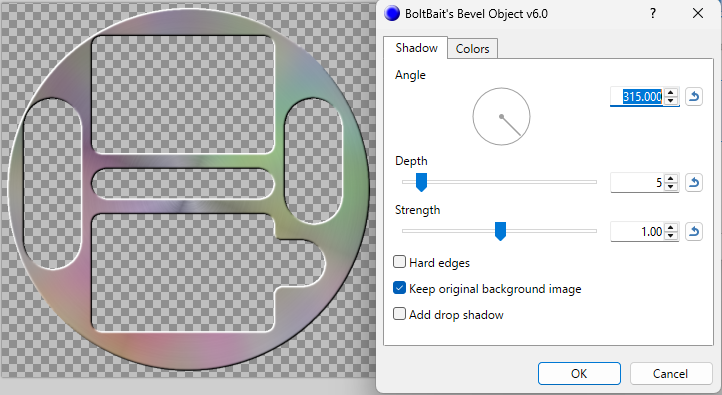
You can now delete the mask layer and apply your bevel.
For some custom effects there are less steps.
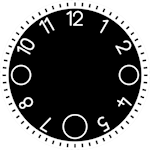
This time start with your other mask.
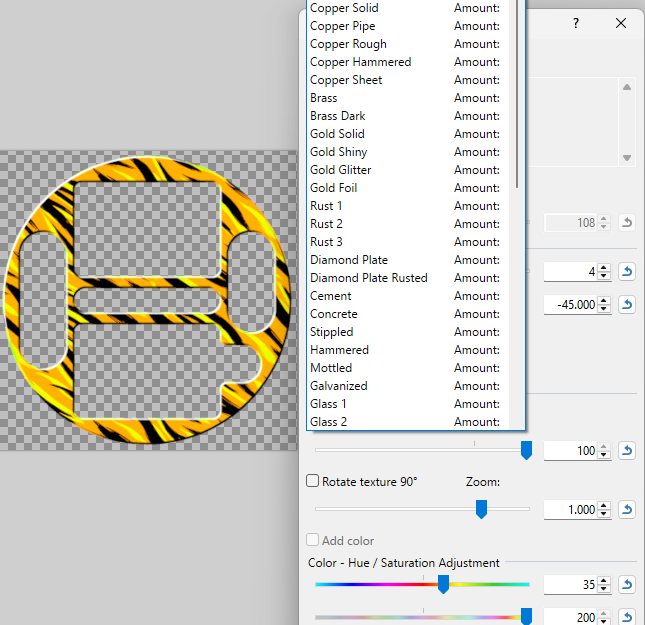
BotlBait’s Text Formations has Creative Text that can apply the effect to the whole image.
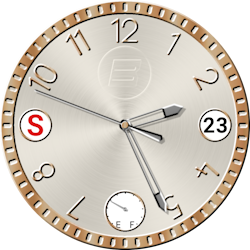
Once done you can re-crop your image back down to 640 and you are done.
For me it’s a great starting point, easy and, for me most important, free.
I’m only really starting to investigate in detail.
What other methods are easy and free?
What other tricks do folks have?