@kvansant Is that the same with Arcs. No one is going to see 0.1 of a pixel missing. Thanks for the Heads up. Bug free code is good Code.
2 Likes
That too lol
2 Likes
I changed it to 1 and moved the Time down a bit … looks better ! Thanks Gentlemen
2 Likes
I see what you mean about the white lines. It is a function of your chosen font. You might want to try some other fonts, as many won’t have that. Or use a unispace font & add some blackout bars to cover it. It’s a bit of trial and error to find the right one without those lines.
3 Likes
Yes, I will figure it out
2 Likes
@karinkaiser1967 thanks for launching the idea here and @bradtc thanks for the how-to !! I spent some time today realizing a variation on the theme that I’m really happy about. I’ve only made one other all-digital face so I was ready for another one  Unveiling soon… just going to give it a little more wrist time to see if I want to make any changes.
3 Likes
I’ve been following this thread and had to get in on it. Here’s my version of the color changing time.
6 Likes
 I love it
2 Likes
Nicely done KB9TMP 57, and nice to see you jumping in 
2 Likes
In for the obligatory version of the colour changing time… 
2 Likes
Oh Jolly good .
I see you have A weather Icon indicating a good Conditions for Formula One.
: )

1 Like
Yes, @russellcresser , and a foggy race that will be!
All,
If you don’t want a jump every minute from all one colour to the next as the seconds progress past the 12 o’clock postion, simply add another seconds circular progress element with reverse fill, a fill ratio of (1-(#DWFSS#/360)), and set it to turn on every other minute with the following expression in the opacity box:
$(2*((#Dm#/2)-floor(#Dm#/2)))==1?0:50$
You will also have to change your opacity in the original seconds progress element to:
$(2*((#Dm#/2)-floor(#Dm#/2)))==1?50:0$
That’s what I did in my obligatory face above. I think it makes for a smoother presentation.
1 Like
Ha Ha nice one, 

I thought I’d have a crack as I am just starting out in face creation. So, my hour’s mucking about has not come out pretty.
I though there could be 2 solit arcs at the back and 2 transparent at the front. One of each being reverse and a fill of ((360-#PBN#/800)*360)
I know. It’s ugly
4 Likes
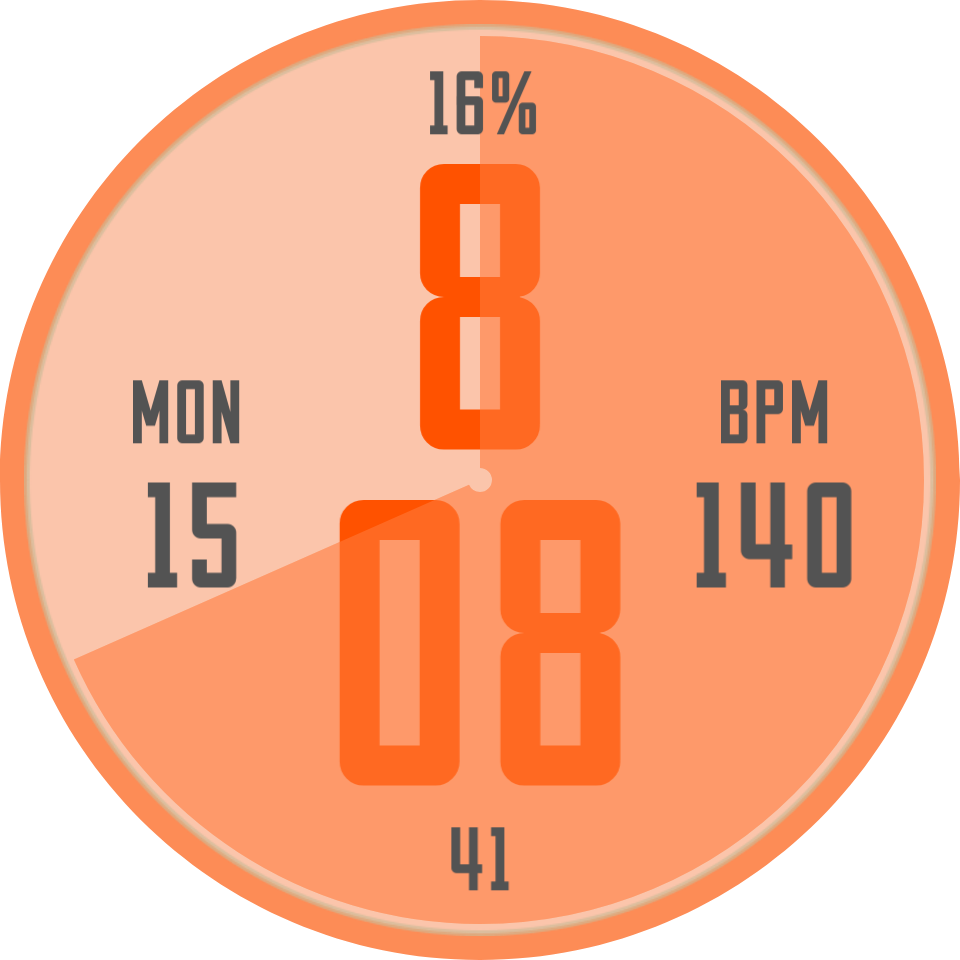
I am a bit fed up everything I typed just Disappeared . So here it is again.
I found the Preview of this one Glitchy to start with then it got better.
I have tried very hard to Sync it with no luck so far . Sometimes it is like that .
If you put the text on the top layer a little transparent the Sweep will add to the colour also give stuff a bit more contrast.
2 Likes
Ah, that doesn’t work in this case. There are red and yellow opaque arcs on the bottom layer with opposing red and yellow transparent arc on top and the pure white of the text gives you the extra contrast on the text as it just being lighter shades of each orange.
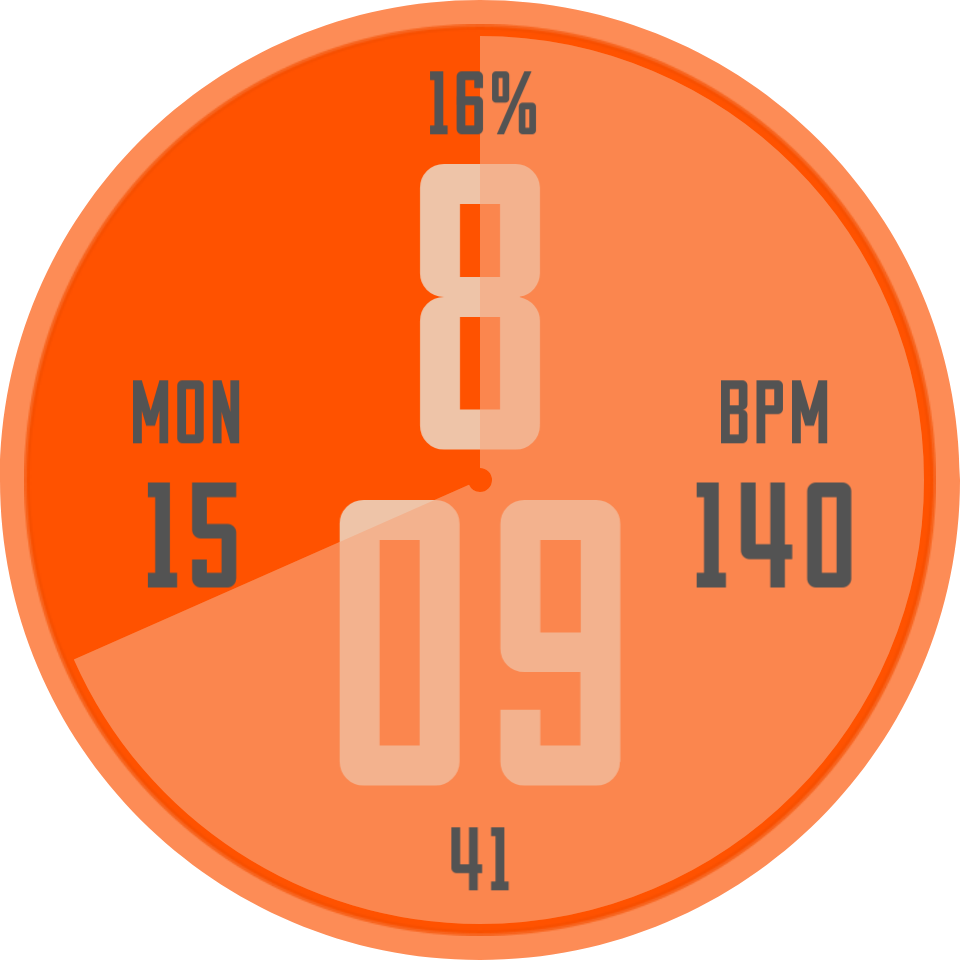
It may be that nothing pretty can come of this method but I didn’t have time just now to put in the obvious painstaking work of kb9tmp
Oooh. It’s mych more striking just replacing the red with blue
1 Like
There you are . Lots to play with there . I found CYMK works better than RGB better colour mixes despite the fact that we are working with light. At the end of the day you are going to be better off with a type face that is a mask .
4 Likes
Nice. For me it was more an interesting challenge with the arc expressins and conditions and thinking of another approach to this problem. Took some jiggling to set the correct arcs to transparrent on od and even minutes even when I had the expression.
The fact that it cleaned up a bit with a colour change and increased oacity was nice though. Not quite so horrific looking. Clashed with the edge battery arc though so that went.
2 Likes
Very Nice Color combi
2 Likes