Trying to get closer to “reality”, one baby step at a time. LOTS of things to consider. Here’s a first clumsy baby step, please ignore everything but the hands and their shadows.
I mean, not that I could every see any difference on my smart watch with my myopic sight organs. But I would really love to try some realism for a change.
I did two shadow layers, one between minute and hours hand, and one to the ground. Having troubles with realistic grommets and center points as usual, but I will get there.
How do you guys do this? I’ve seen things from you that are like photographs. Wanna learn, not steal.
I did shadow layers of the hands. Gauss softened, offset 2 px on on another, 3 px to the ground.
I also made “glow” layers (white in my example), I’ll try and make them glow on a night face.
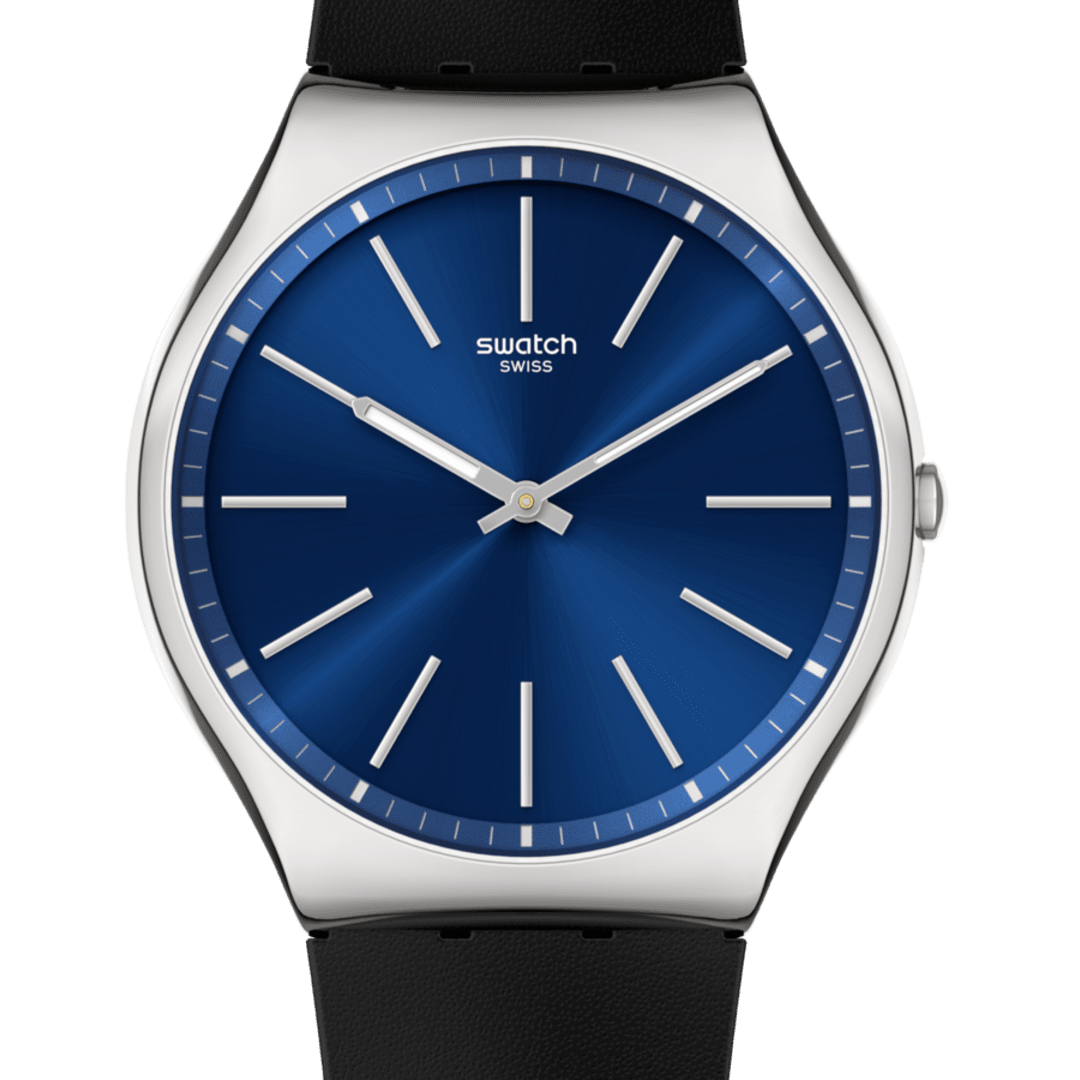
Took the ideas from a “Swatch” - which is, quite obviously, a rendered image:
Wow. You have gone a lot deeper than I on this. Looking good.
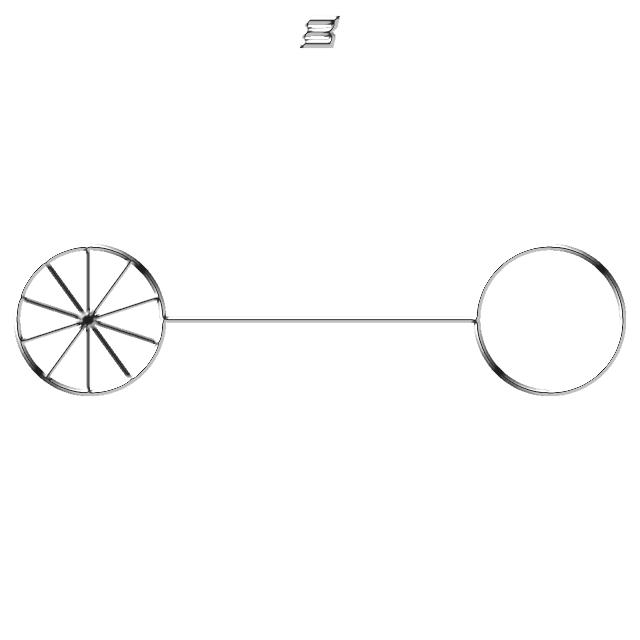
I have also had a very long simmer on that front. To that effort I created 2 sets of hands using faces as hand designers. Export extract etc. @russellcresser put me on to the -1x/y thing
So, hand designer:
I find that one hollow dark, one hollow light at -1X/Y and one lume backing with built in Facer shadow works a treat.
Pretty much looks like we have followed the same thinking.
I used them in my Cake range.
Edit. I never actually used the lume image, just the fully filled hand for the generated shadow.
The sets in the zip have 2 hollow, top hollow, bottom hollow, all hollow and all fill.
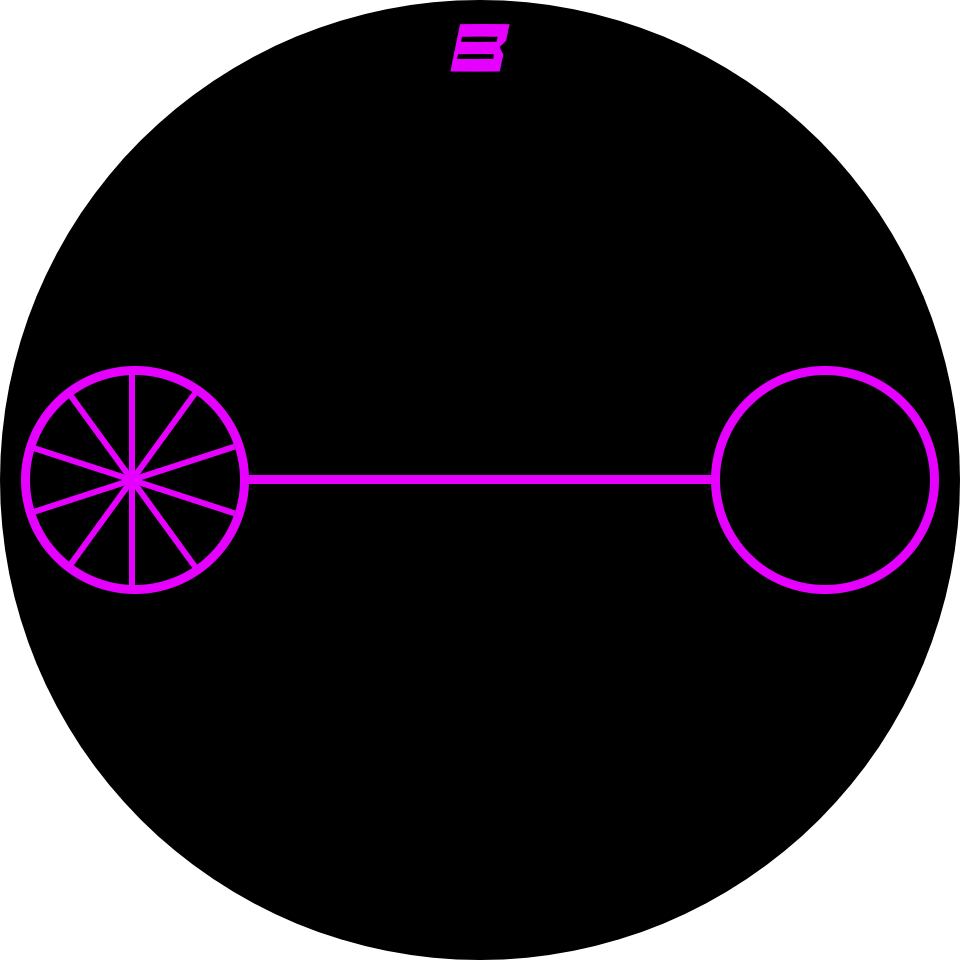
The whole trick to realism is depth. If you can create a 3D appearance using highlight and shadow, it will give you the realistic depth you are looking for. Just look at the B# (B Sharp) line of watchfaces. Even in his paper series, they all look like real watchfaces and not something created in a computer and displayed on a screen.
Ah! You did actual luminescence masks! WOW! Haven’t thought about that at all! Reminds me of modding Cyberpunk 77 clothes Damn - that’s pretty far off, but thanks as usual, gotta have to rethink this.
I think a hefty bit of realism like with those B# things comes with hyper-realistic “matte” surfaces for the face backgrounds. Which means that one got to do some structure, a bit of “grit” on them instead of just a coloured layer. Anyone done that? I tried to put some noise into a layer and soften it up, but I never got it right.
A real bummer in my “experience” are center points. Haven’t had the time to actually research what they really are. They sure a hell ain’t just screws, because there’s quite a bit of parallel action going on in a multi-hand shaft. So to just clamp-on a circle with a border around it just doesn’t cut it for me. Sadly most of the photographies of famous watches are - even if they are full-on top-down - unuseable, because they dither - macro pics are few and far between. And I haven’t found something relly realistic in the Resources section either
Aaaaaaaaaaand to further spam me own wee thread: “Glow Effects”. Gauss Softening won’t cut this one. You know, like those Radium coating stuff that glows in the night. How do I make this one? I prepared by rendering a separate “glow” layer, that can be coloured in Creator at least. But what is that “glow” in reality?
Makes sense. I really tried this from the beginning here, but I always seem to end up with “Xxxxx copycopycopycopy” of everything heh. Non discipline whatsoever
I just did a brighter Border to the watch hand. Which, of course ain’t anything dynamic, so NOT realistic.
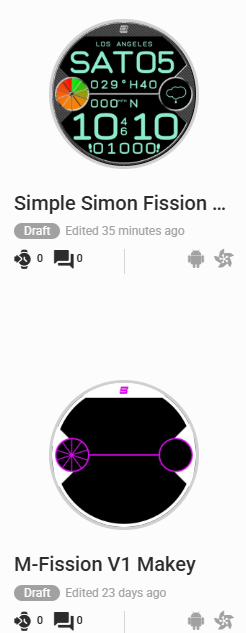
What I saw @ bodestone “Simple Simon” is TWO additional layers to the original one:
• shadow layer at x+1/y+1
• highlight layer at x-1/y-1
[Edit] stupid question , of course the highlight layer is separately created. Hm. Lemme try that