I am working on a new watch face that I’m having issues figuring out how to get it to so what I want …I am trying to do something like layered rotating rings for hour and minute and second hands …but I can’t figure out the rotation settings any help would be appreciated thanks
1 Like
I import my .png rings into a hand layer and then play with the rotation maths. Send us a picture if you can to make clear what you are trying to do. Also a lot of the work from the guys who respond here is Inspectable. You could have a look at those.
1 Like
use the the tag needed for each ring in the rotation parameter for that ring. Example
is if you want the bottom ring to rotate clockwise and represent an 12 hour dial hand then tag #DWFKS# needs to be in the rotation field for its ring. putting a minus in front of tag makes it go other way (-#DWFKS#)
2 Likes
You may find this article EXTREMELY useful =)
I keep it open whenever I work on my faces, I always forget stuff 
3 Likes
Just like russell said, click on the Hour hand icon in the creator and add an hour hand, then there will be a “plus” icon at the bottom, click on that and it will let you load a graphic to replace the stock hour hand images. Then do the same for the minute and seconds hands/graphics.
Hours: #DWFKS#
Minutes: #DWFMS#
Seconds: #DWFSS#
1 Like
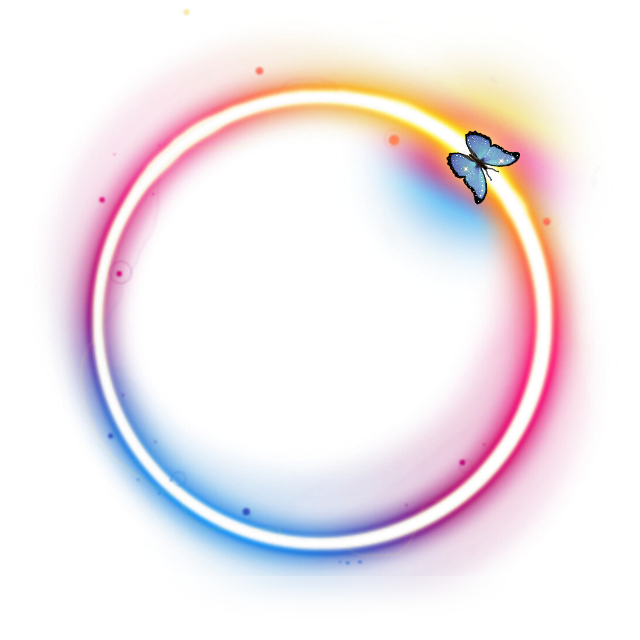
something like this is what I was thinking
Hour hand

minute hand
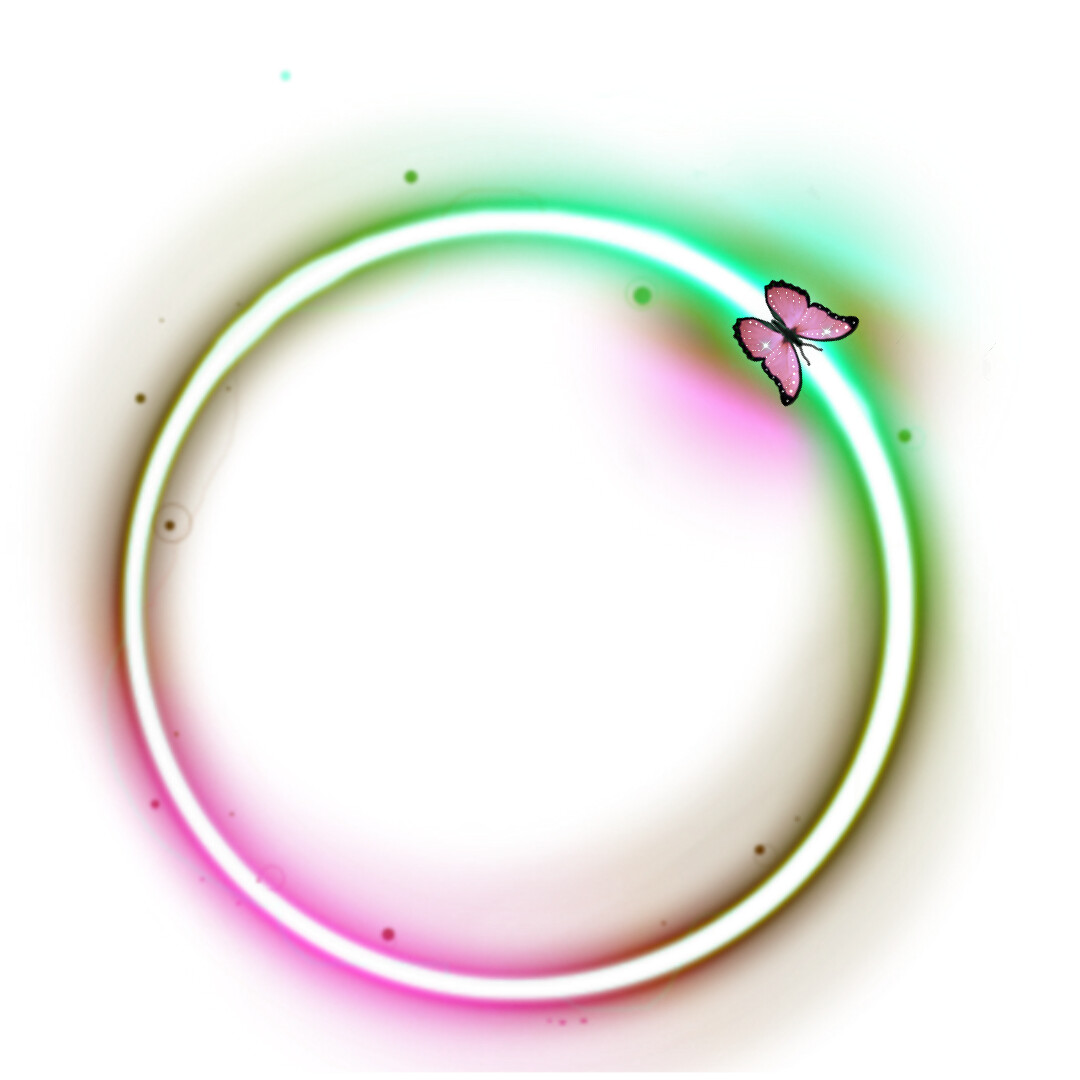
second hand
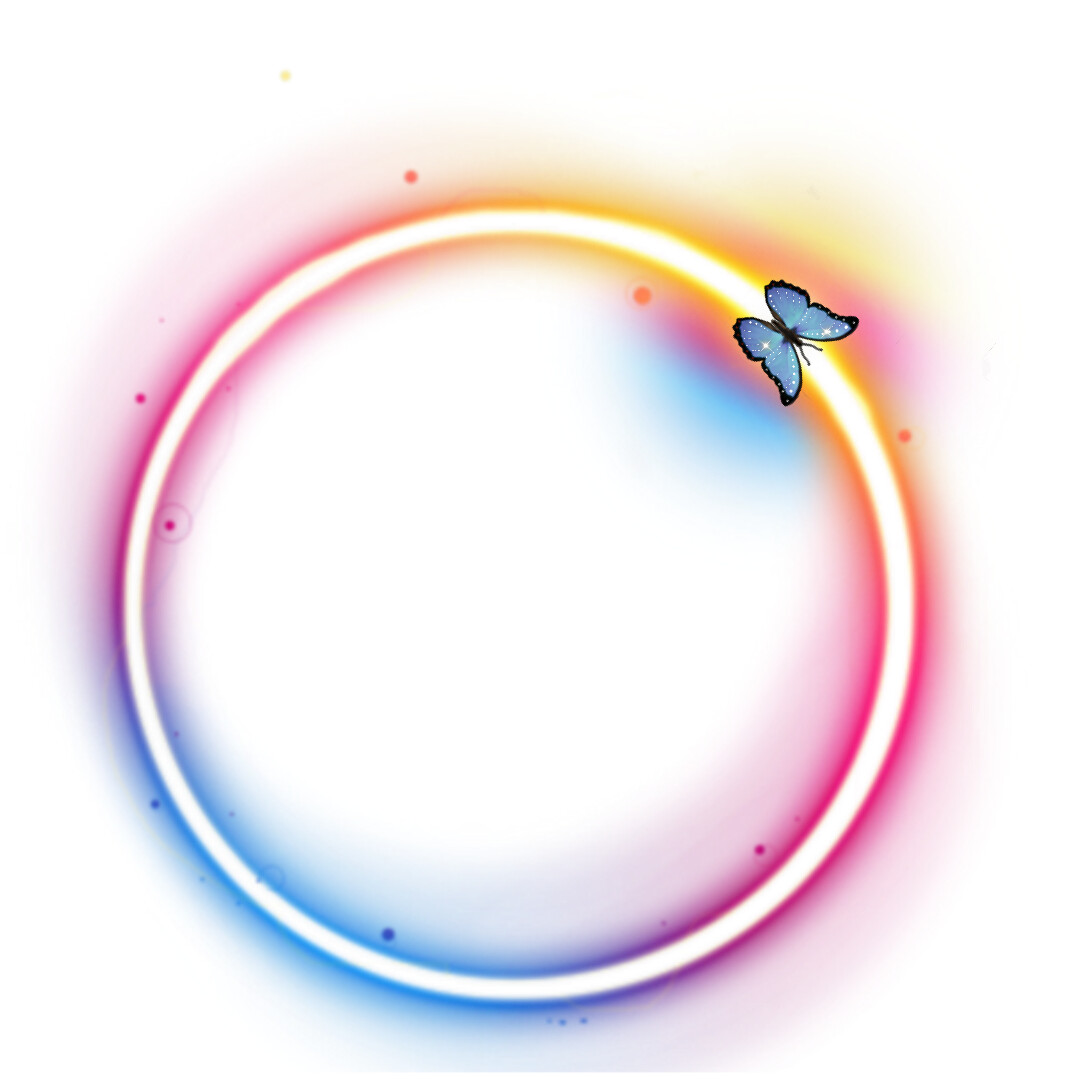
i got them on the face but they will not rotate evenly …the keep rotating on a weird axis and parts go off the face at times …any help to fix this issue would be much appreciated
1 Like
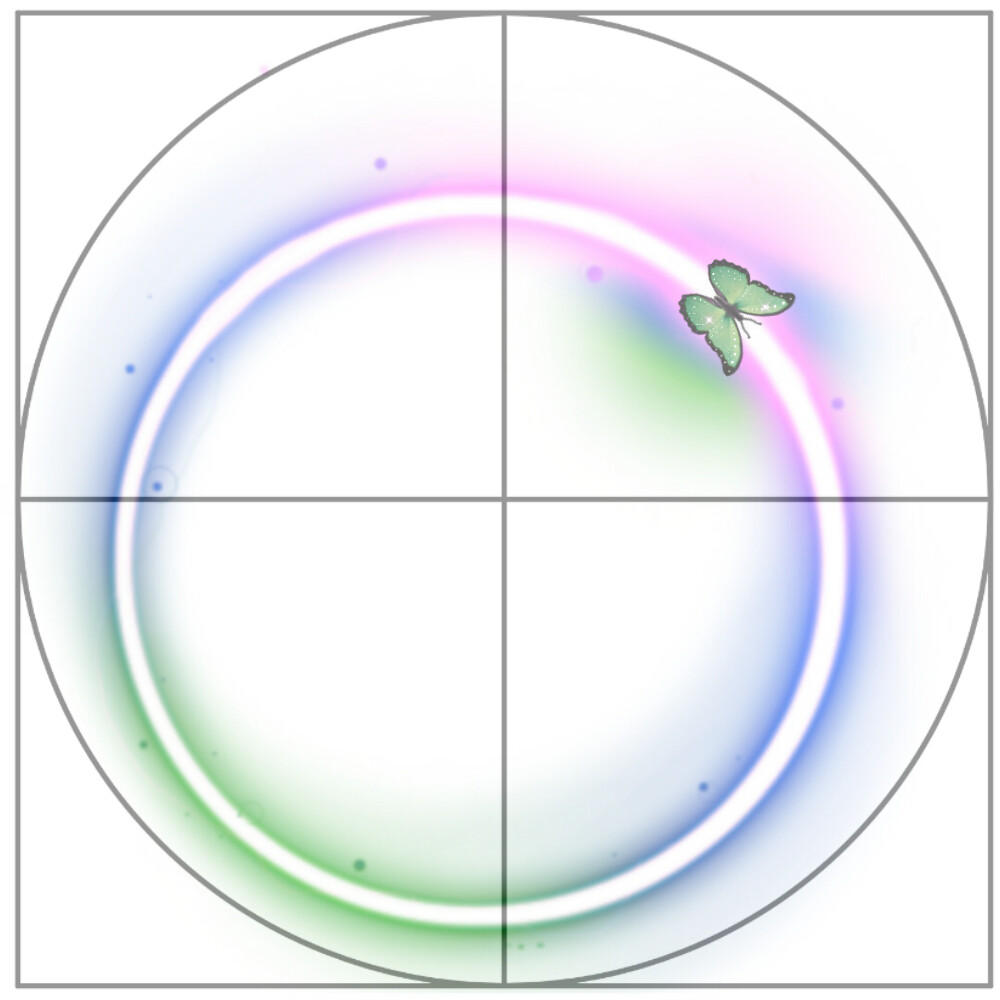
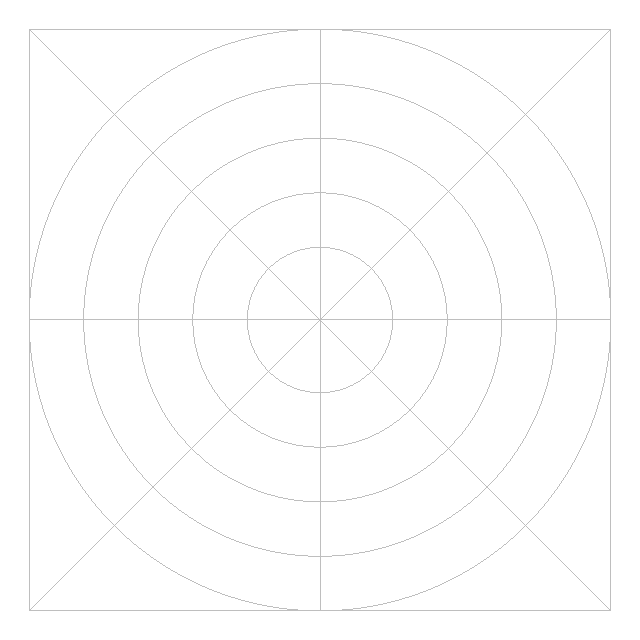
You must be sure the center of the .png is in the middle of those images . Otherwise it is difficult to rotate them correctly. The maths for that is the next step. Draw yourself a grid to superimpose on you graphics package that will help you check the image is on center.
Nice images If you can not draw a grid I can post one here. : )
So for example.
I can send a better grid from my Laptop later.
I note your image does not have a transparent background. You will have to find out how to do that on your graphics package otherwise you will struggle to move forward : )

I haver had a go at taking out the background and centring your image. Sadly they have been converted to . jpg so not much use to you at all .
Maybe be someone else will join in . I am quite new to all this stuff as well.
I see that your images are Hand Painted.
Very nice but most of these guys here create images on a Graphics package . making it easier to maintain a Transparent Background to the image.
Alright I will open the images in my graphics programs and find the centers as for the background it is transparent with the exception of the glow and dots around the rings…which was intended to be there …mabee if I was to lighten the glow up some and drop off some of the spots could make it easier to find center…?
1 Like
I tried to center one of the images, while making all white transparent.
btw., It wont upload bigger .png images than 640x640 without converting them into .jpg
(see the first post Hands (Hour/Minutes/Seconds) - FACER Community )
1 Like
Cool . Yeah sorry for some reason they are .JPG here with white backgrounds . So that mislead me. You need a Grid with concentric circles I think . The one I sent previous was white on Trans but I see here it is white on white ,no use to you . You seem to gave a good understanding of what needs to be done.
Learn something every day. I always work as big as I can get away with, I understand clearly now. I did wonder. Thanks so very much . Nice to see someone else chipping in with this one. I am still learning. Do we ever stop : )
1 Like
Good morning @ viperh1020
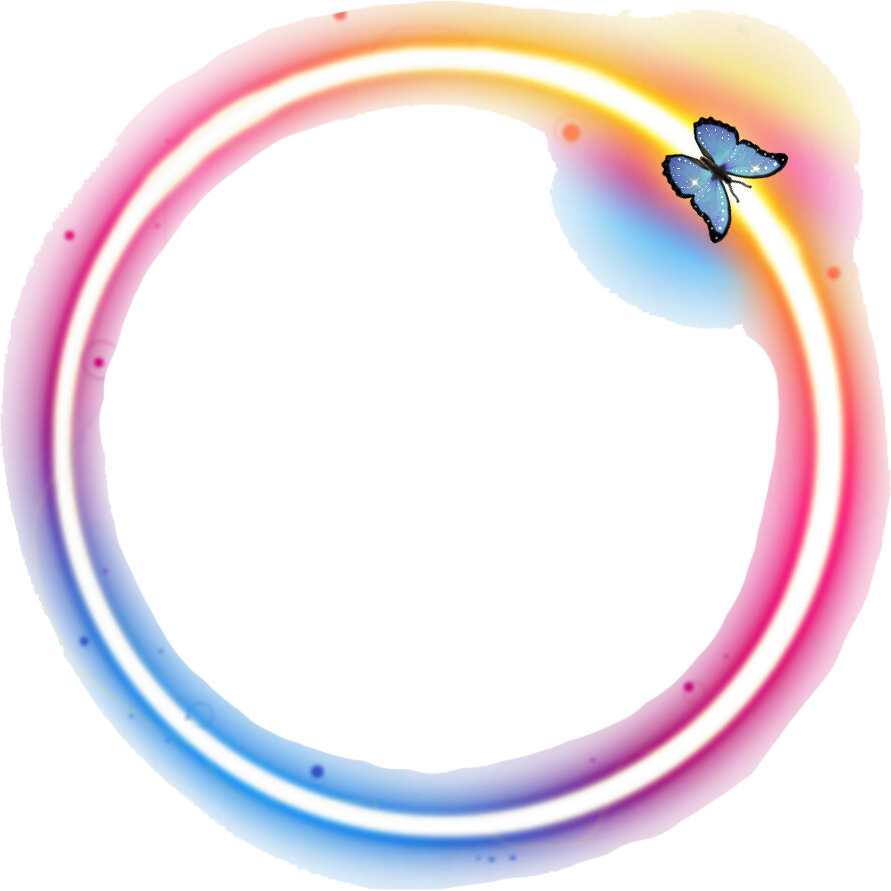
I am now testing your idea, with the butterflies …
And the solution to this design is that …
- It is necessary to transform the background of the image, to transparency, transparent.
As @russellcresser said …
I just transformed the background into transparent … located the image in the center
Having centered the image … in position X 160 Y160, with a circle of 320 diameter.
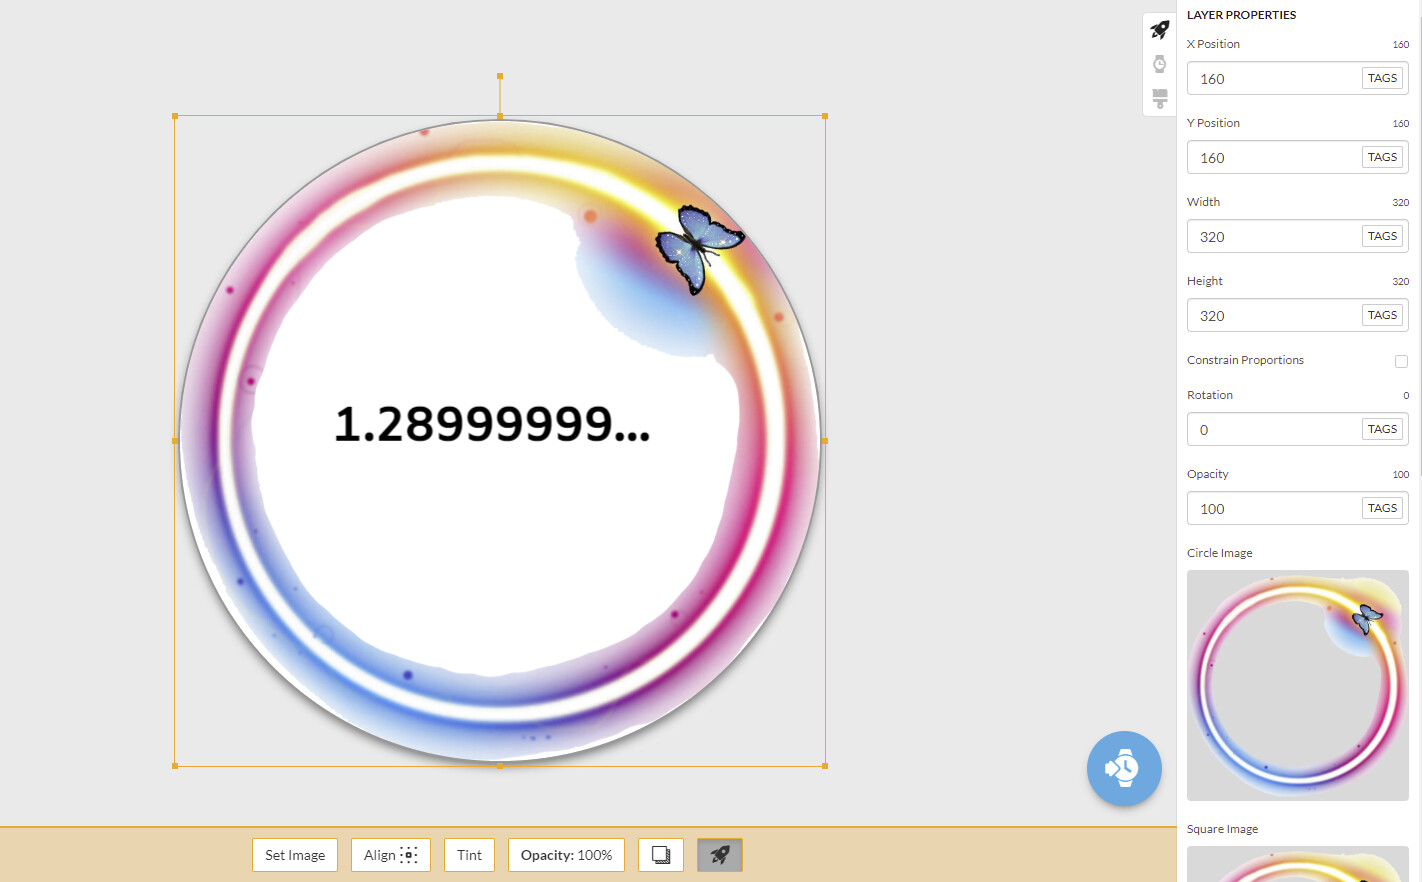
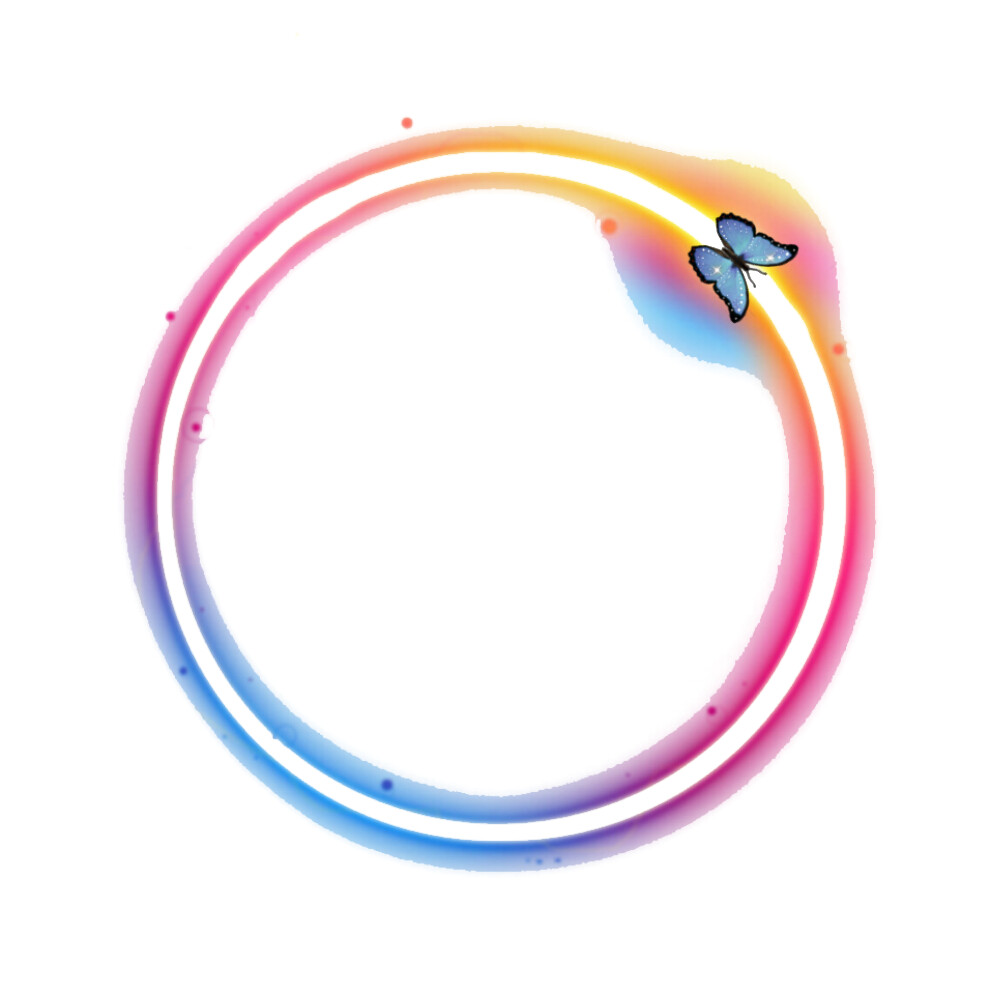
- But, To turn the butterfly in its second position, for example. The butterfly must be turned to 0 degrees …
As in this image …

But, when placing it in its 0 degree position … the image loses its centering …
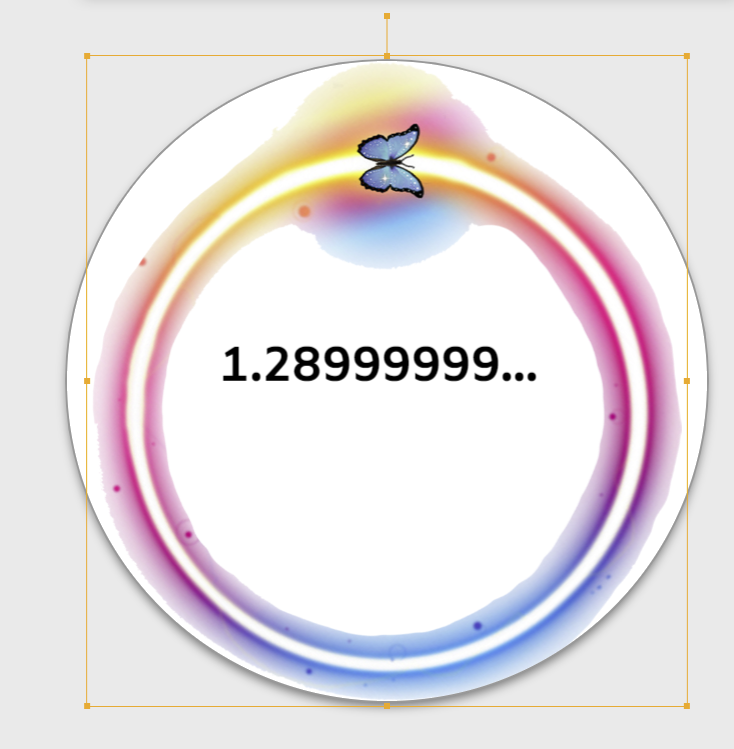
For this reason, I think, it is necessary to modify the figure in this way …

In this way … I think it will work in design! the image position is at X160 Y 160, with a diameter of 320
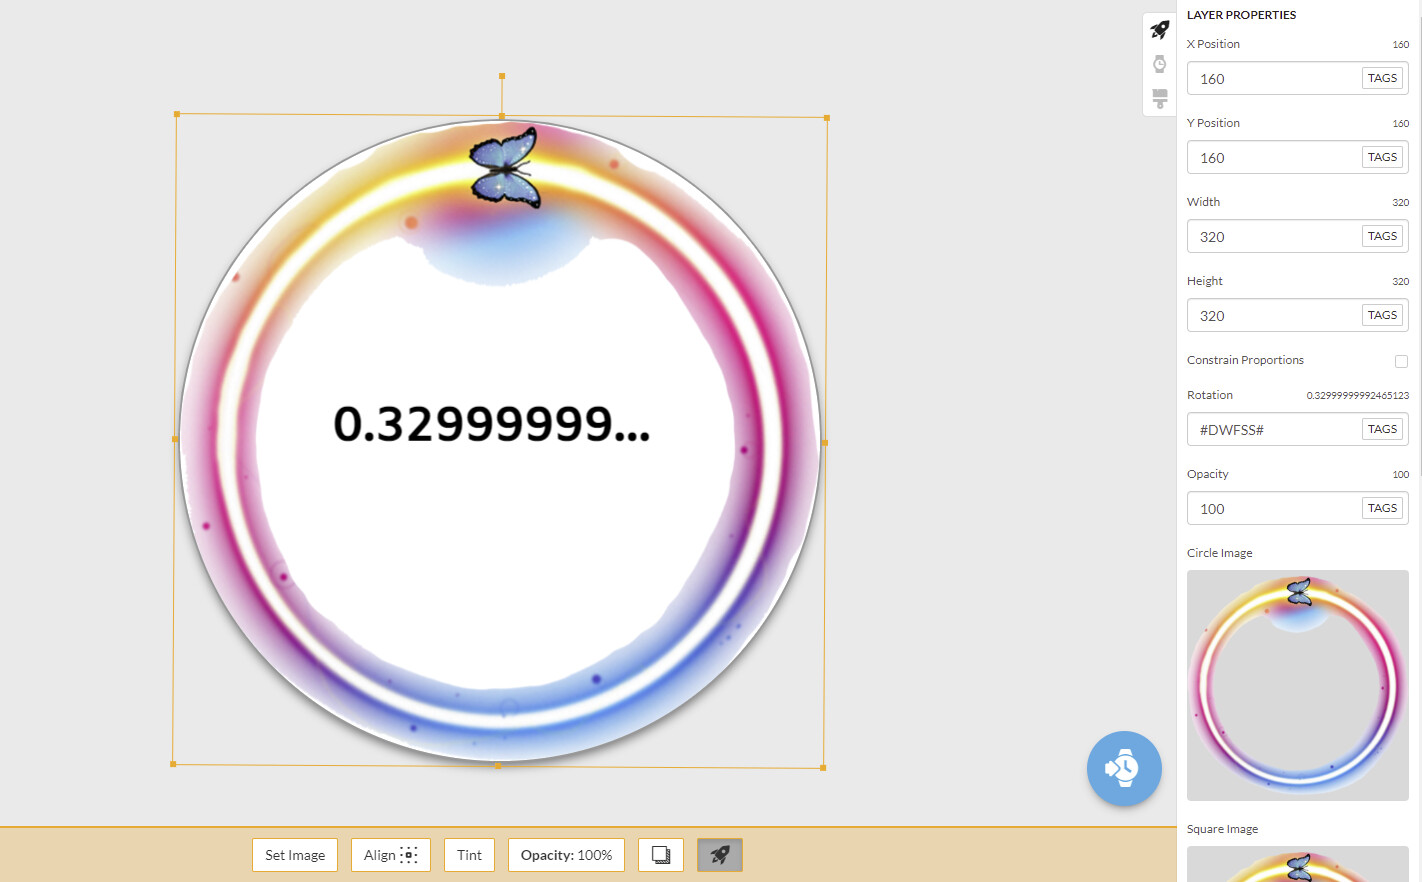
I hope I have helped with your design 
Cordially
1 Like
Ah Ha . like this then . Got it thanks Peter.
This Question is getting very interesting and instructive.
It seem like 500X500 might be a Gold standard as well .
I preferer 640X640 much nicer numbers.


1 Like
To turn the butterfly to 0 position you can simply add-45 to the rotation expression like (#DWFSS#-45) and save the other steps.
2 Likes
Yes, yes is true!!!
I just thought about it !!!
1 Like
Yes, yes is true!!!
I just thought about it !!! 
1 Like
I hope @viperh1020 sees this . Sorry I forgot to mention to get the TIP of your HAND to point to 12 o’clock. Or add angle as mentioned.
1 Like
I am following this discussion I just haven’t been replying alot because I’m at work this morning…I will be working on this again when I get home today
1 Like